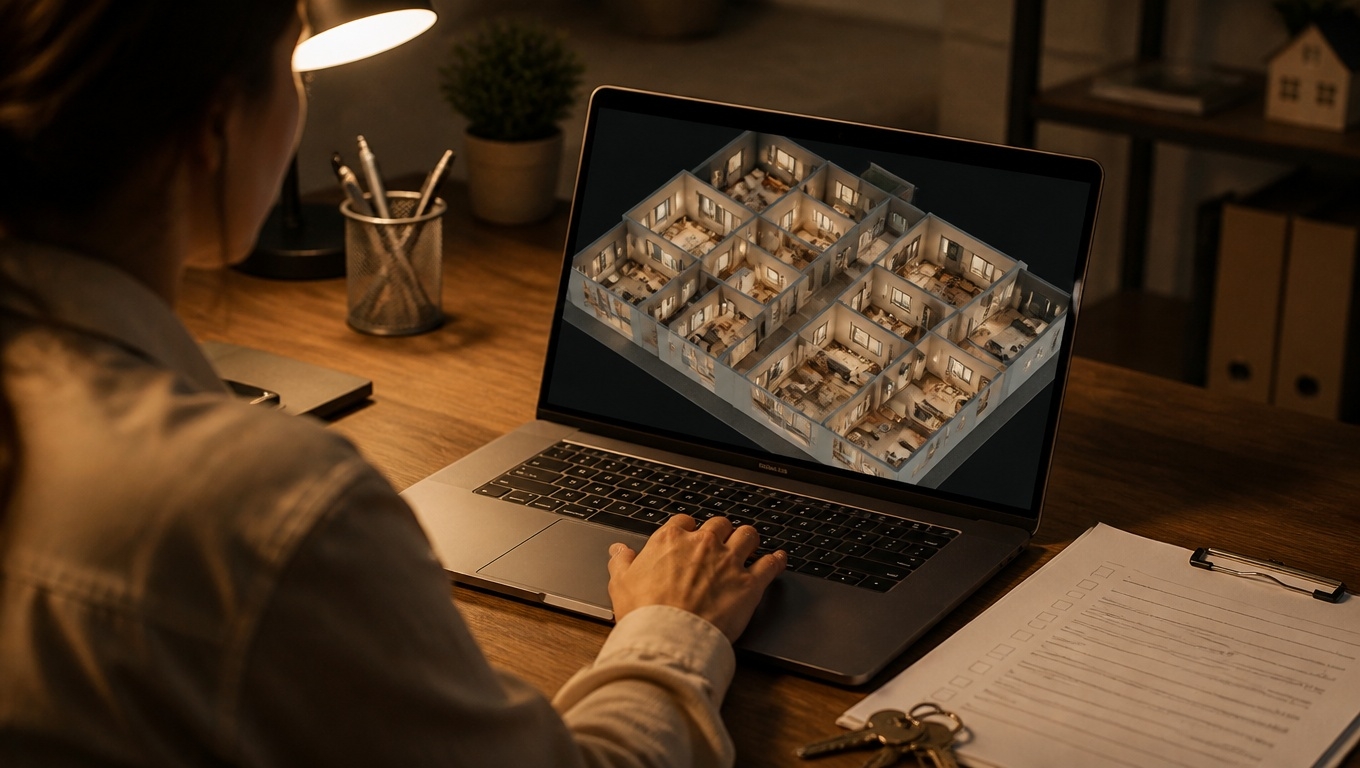
Thinking about opening your kitchen to the living room, relocating a primary suite, or turning a choppy floor plan into a modern, airy layout? The hardest part of changing a home’s layout is seeing the impact before you commit.
Matterport 3D Tours solve that. By creating a high‑fidelity digital twin of your current space, you can plan, collaborate, and execute layout changes with confidence.At Invision Studio, we combine expert capture with practical guidance so homeowners, designers, and contractors stay aligned from the first measurement to the final walkthrough.
Our Matterport 3D Tour Photographers recommend using 3D scanning at key milestones to reduce surprises, speed decisions, and protect your budget.
Key takeaways:
- Start with reality. A Matterport “as‑built” scan gives you an accurate, measurable model of your existing layout.
- Decide faster. Walk your space virtually, test clearances, and review options with your team from anywhere.
- Document the journey. Scan at milestones (pre‑demo, rough‑in, pre‑close) to track progress and what’s behind walls.
- Show and sell. When you’re done, the tour becomes an immersive showcase—great for future resale or insurance.
- Our Matterport 3D Tour Photographers recommend enabling Measurement Mode so you can validate furniture fits, walkway widths, and sightlines in minutes.
Why Matterport shines for layout changes
- True “as‑built” accuracy. Before you remove a wall or shift a kitchen, you need precise dimensions and conditions. Matterport captures ceiling heights, window placements, soffits, and awkward corners that CAD sketches often miss.
- Measurement Mode for quick wins. Measure spans, door widths, cabinet runs, and circulation paths right inside the tour. Always field‑verify critical dimensions before fabrication, permitting, or structural work.
- Mattertags for decisions and specs. Tag proposed changes—like “Remove non‑load‑bearing wall,” “New 36″ cased opening,” or “Move gas line here”—so everyone sees context and location.
- Exportable assets. Order schematic floor plans, and when appropriate, request compatible point clouds/meshes that support architects and designers in CAD/BIM tools.
- Marketing‑ready visuals. Post‑project, the same digital twin helps you tell a compelling before/after story for appraisals, listings, or personal documentation.
Our Matterport 3D Tour Photographers recommend capturing a baseline scan before demolition—this becomes your single source of truth for design, construction coordination, and dispute avoidance.
Step‑by‑step: Using 3D tours to change your layout
- Pre‑design clarity
- Visualize what’s possible. Walk your current layout in 3D and note pinch points, dark areas, and blocked sightlines.
- Align your team remotely. Share a link with architects, interior designers, and contractors so they can evaluate structure, access, and utilities without repeat site visits.
- Budget with better data. Use measurements to estimate materials, cabinetry runs, or steel beam spans. Our Matterport 3D Tour Photographers recommend tagging existing shutoffs, panels, and vents so MEP planning starts early.
- Design options and approvals
- Compare “what‑ifs.” Duplicate the model’s notes to represent Option A vs. Option B (e.g., “island with seating” vs. “peninsula with storage”) and review with stakeholders on a live screen share.
- Plan circulation. Verify 36″+ walkways, door swings, and furniture placements using Measurement Mode to ensure an open layout actually lives comfortably.
- Accessibility insights. If multigenerational living is a goal, tag step‑free paths, wider doors, and curb‑less shower plans. Our Matterport 3D Tour Photographers recommend highlighting these early to streamline approvals.
- Permitting and construction docs
- Schematic floor plans. Generate floor plans from your scan to aid early design and communicate intent while your architect prepares official drawings.
- Structural conversations. Use the tour to discuss load‑bearing elements and alternative support strategies (e.g., flush vs. drop beams) with your contractor.
- Fewer site meetings. Approve details like header heights, opening widths, and HVAC reroutes directly in the tour comments.
- During construction
- Progress documentation. Scan after framing and rough‑ins to capture what’s inside walls—electrical, plumbing, blocking—before drywall. This saves time on future repairs or upgrades.
- Punch lists that stick. Tag fixes in the exact spot with photos and notes. Subs see the issue in context, reducing back‑and‑forth.
- Change‑order clarity. Walk remote stakeholders through requested changes in 3D so costs, scope, and timelines are crystal‑clear. Our Matterport 3D Tour Photographers recommend a pre‑close scan to confirm insulation, waterproofing, and fire‑blocking.
- After completion
- Showcase the transformation. Pair a pre‑demo scan with a final tour for a powerful before/after narrative.
- Future‑ready documentation. Keep the final model for insurance, appraisals, or future tweaks—especially helpful if you ever need to locate hidden utilities.
Common layout changes that benefit most
- Open‑concept living. Validate structural spans, natural light pathways, and furniture arrangements before removing walls.
- Kitchen reflow. Test island sizes, appliance clearances, and pantry placement; tag finishes and appliance models for quick approvals.
- Primary suite reconfiguration. Confirm closet depths, bathroom layouts, and door swings to avoid cramped circulation.
- Home office creation. Explore acoustic separation, daylight, and power/data locations in context.
- Basement and attic conversions. Use the tour to evaluate head height, egress requirements, and stair safety.
- Hallway and entry optimization. Improve flow by verifying opening sizes and storage niches.
Our Matterport 3D Tour Photographers recommend labeling benefits in plain language—“Wider sightline from entry to backyard,” “Improved work triangle,” “Kid‑friendly drop zone”—so stakeholders focus on outcomes, not just specs.
Pro tips from Invision Studio
- Scan before demo. Your baseline model anchors design, bidding, and construction QA.
- Stage lightly for visibility. Clear counters and floors to keep sightlines open, especially in kitchens and hallways.
- Standardize tags. Use a naming format like “Open – 10′ Header,” “Relocate – Gas Line,” “Finish – White Oak, Matte,” “Electrical – New 20A Circuit.”
- Leverage snapshots. Export high‑res stills from your tour for design boards, contractor packets, or MLS later.
- Share settings that matter. Our Matterport 3D Tour Photographers recommend enabling Measurement Mode and floor plan view on shared links to simplify reviews.
- Bundle deliverables. Add schematic floor plans and, if your design team needs it, compatible point clouds for precise modeling.
SEO‑friendly FAQs
- How accurate are Matterport measurements for layout changes?
They’re excellent for planning and estimating. Always field‑verify critical dimensions for fabrication, permitting, or structural engineering. - Can I get floor plans from my tour?
Yes. Schematic floor plans are a popular add‑on and help align homeowners, designers, appraisers, and contractors. - Will Matterport help with furniture and storage planning?
Absolutely. Use Measurement Mode to confirm sofa lengths, dining clearances, and closet configurations before you buy. - Does this work for older homes with quirks?
Yes—and that’s where it shines. Irregular walls, soffits, and sloped ceilings are captured accurately, reducing surprises. - How long does a scan take?
Most homes are captured in a few hours, and turnaround is fast. Our Matterport 3D Tour Photographers recommend scheduling baseline, mid‑construction, and final scans when you build your project timeline.
Why choose Invision Studio?
- Layout‑change specialists. We understand sequencing and coordination—baseline “as‑builts,” progress checkpoints, and final marketing passes.
- Consistent, navigable visuals. Crisp imagery, thoughtful scan positions, and clean tags make your tours easy to understand.
- End‑to‑end deliverables. Interactive tours, floor plans, snapshots, and optional exports for design teams keep your remodel moving.
Whether you’re opening up a main floor, rethinking a kitchen, or crafting a smarter primary suite, Invision Studio gives you the 3D clarity to make the right decisions the first time.
Our Matterport 3D Tour Photographers recommend starting with an “as‑built” scan and mapping capture milestones to de‑risk your project from day one.Ready to reimagine your home’s layout with confidence? Contact Invision Studio to schedule your Matterport 3D Tour and turn your vision into a measurable, buildable plan.