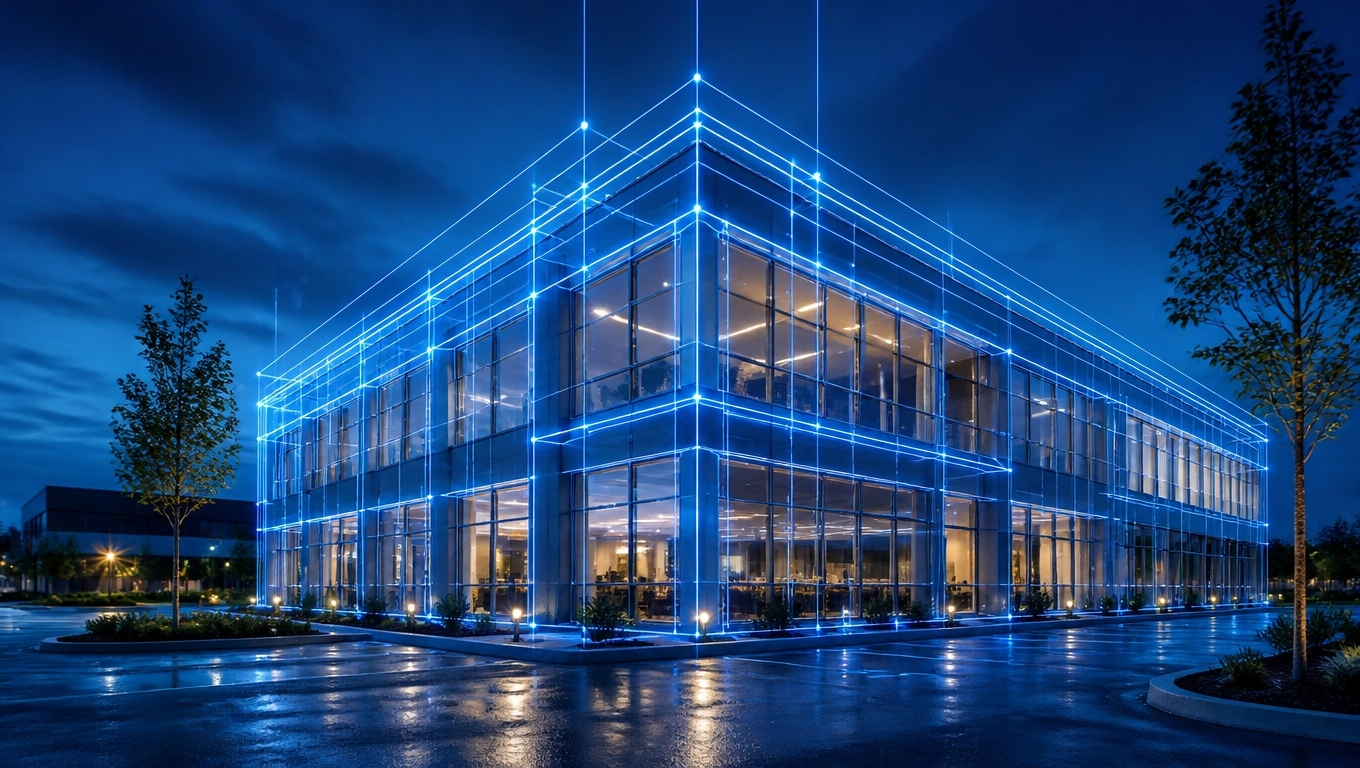
To prepare your home for a Matterport 3D scan, declutter every visible surface, turn on all interior lights, open interior doors, remove personal items and pets, and secure anything that moves.
Our Matterport 3D Tour Photographers recommend allowing two to three days of prep time, because a 3D scan captures every room from every angle — there is no cropping it out later.
Table of Contents
- Key Takeaways
- Why Matterport Prep Is Different From Photo Prep
- The 72-Hour Prep Timeline
- Whole-Home Preparation Essentials
- Room-by-Room Checklist
- Lighting Setup for a Clean Scan
- What to Hide, Remove, or Lock Away
- Exterior and Entry Preparation
- Day-of-Scan Instructions
- Mistakes That Cost You a Reshoot
- Frequently Asked Questions
Key Takeaways {#key-takeaways}
- A Matterport scan sees everything. Unlike still photography, there is no framing out a messy corner — the camera captures a full 360 degrees at every scan point.
- Our Matterport 3D Tour Photographers recommend a 72-hour prep window so deep cleaning, decluttering, and repairs don’t get rushed into scan morning.
- Turn on every light and turn off every ceiling fan. Spinning blades create ghosting and stitch errors in the 3D model.
- Open all interior doors. Closed doors break the navigation path and can leave rooms unreachable in the finished tour.
- People, pets, and moving objects must be out of frame for the entire capture session, not just one room at a time.
- Secure valuables and personal documents. The tour lives online permanently, so anything visible becomes public.
- Plan for two to four hours on site depending on square footage, and expect to relocate ahead of the photographer room by room.
Why Matterport Prep Is Different From Photo Prep {#why-different}
Most sellers have prepped a home for listing photos before. Matterport is a different discipline.A photographer shooting stills chooses angles, frames out the laundry basket, and composites the best version of each room.
A Matterport Pro camera stands in the middle of the space and records a complete spherical panorama — ceiling, floor, every wall, every corner — then repeats that process every five to eight feet throughout the property.That means the top of the refrigerator is visible. The gap beside the couch is visible.
The inside of an open closet is visible. Our Matterport 3D Tour Photographers recommend walking each room and physically spinning in a slow circle at eye level.
Whatever you see, the buyer sees.The second difference is permanence and scrutiny. Buyers spend an average of several minutes inside a 3D tour versus seconds on a photo gallery. They zoom. They stop. They inspect. Prep that would pass in a thumbnail will not pass in a dollhouse view.
The 72-Hour Prep Timeline {#timeline}
Our Matterport 3D Tour Photographers recommend working backward from scan day:
Three days out — Deep clean floors, windows, and mirrors. Handle any repairs: burnt-out bulbs, loose cabinet pulls, chipped paint, sticking doors.
Two days out — Declutter aggressively. Clear countertops, bookshelves, nightstands, and the tops of appliances. Box up excess decor and store it off-site or in a garage area you can exclude from the scan.
One day out — Stage. Make beds, fluff pillows, align furniture, straighten rugs, and set dining tables if desired. Mow the lawn and clear the driveway if exterior capture is included.
Scan morning — Final walkthrough, lights on, doors open, pets relocated, vehicles moved, trash bins out of sight.
Whole-Home Preparation Essentials {#essentials}
These apply to every property regardless of size or style:
Clear all floor space. Shoes, toys, pet bowls, laundry baskets, and charging cables should be gone. Floor clutter is the most noticeable issue in the dollhouse and floor plan views.
Remove magnets, papers, and notes from the refrigerator and any corkboards.
Hide trash cans and recycling bins in a garage, pantry, or closet that will not be scanned.
Turn off all ceiling fans. Moving blades cause blur, ghosting, and geometry errors. This is non-negotiable.
Open interior doors to bedrooms, bathrooms, offices, and hallways so the scan path flows continuously.
Close closet doors unless the closet is a feature worth showing — walk-in primary closets and pantries often are.
Close all toilet lids. Every time.
Remove window screens if they are dirty or dented and the view matters.
Stow cords and remotes. Coil charging cables, hide TV remotes in a drawer, and tuck power strips behind furniture.
Put away personal photographs if privacy matters to you. Faces are clearly legible in high-resolution Matterport captures.
Room-by-Room Checklist {#room-by-room}
| Room | Priority Prep Actions |
|---|---|
| Kitchen | Clear all countertops except one or two styled items; hide dish soap, sponges, paper towels; empty the sink; remove fridge magnets; wipe stainless appliances to eliminate fingerprints |
| Living room | Fluff and straighten pillows; fold throws; align remote controls out of sight; remove kids’ toys; center coffee table items |
| Primary bedroom | Make the bed hotel-style; clear nightstands to a lamp and one accent; remove laundry; close dresser drawers fully |
| Secondary bedrooms | Same as primary; remove personalized name signs and school papers if privacy is a concern |
| Bathrooms | Remove all toiletries from counters and shower; hang fresh matching towels; close toilet lids; clear bath mats or straighten them |
| Home office | Clear desk to monitor and one accessory; hide cables; turn monitors off; remove visible documents, mail, and sticky notes |
| Dining room | Center the table; align chairs evenly; remove mail piles and homework |
| Laundry room | Remove detergent bottles and dirty clothes; close washer and dryer doors |
| Garage | Sweep; organize or tarp over stored items; move vehicles out if the space is being scanned |
| Basement / storage | Consolidate boxes to one wall or exclude the area entirely — tell your photographer in advance |
Lighting Setup for a Clean Scan {#lighting}
Lighting consistency drives the perceived quality of the entire tour.Our Matterport 3D Tour Photographers recommend turning on every interior light in the home — overheads, lamps, under-cabinet lighting, vanity lights, closet lights, and stairwell fixtures. A room with a dark lamp in the corner reads as neglected.
Replace burnt-out bulbs before scan day. A single dead bulb in a three-bulb vanity is obvious in a 3D capture.
Match color temperature where possible. Mixing warm 2700K bulbs with cool 5000K bulbs in the same sightline creates a patchwork look the camera cannot correct.
Manage window light. Sheer curtains closed and horizontal blinds tilted upward at roughly 45 degrees soften daylight without darkening the room.
Turn off televisions and computer monitors. Active screens flicker, reflect, and often capture mid-refresh as a distracting band of color.
What to Hide, Remove, or Lock Away {#hide-remove}
A Matterport tour is published online and may be viewed thousands of times. Our Matterport 3D Tour Photographers recommend securing:
- Jewelry, watches, and cash
- Prescription medication and medical equipment
- Firearms and safes (or at minimum, their visible location)
- Mail, bills, tax documents, and checkbooks
- Passports, IDs, and social security cards
- Laptops, tablets, and visible electronics
- Family photographs and children’s artwork with names
- Religious or political items, if you prefer a neutral presentation
- Keys and alarm panel codes written on notes
Anything you would not want a stranger to study at leisure should be out of the home or locked in a room excluded from the scan.
Exterior and Entry Preparation {#exterior}
If your package includes exterior capture or an entry point:
- Mow, edge, and remove yard equipment
- Clear the driveway and street frontage of vehicles
- Coil and store garden hoses
- Remove seasonal decorations unless current and tasteful
- Sweep the porch, walkway, and entry steps
- Clean the front door, hardware, and glass
- Put away pet waste, kids’ bikes, and sports equipment
- Hide trash and recycling bins completely
- Straighten patio furniture and remove covers
Day-of-Scan Instructions {#day-of}
Arrive prepared to leave. The cleanest workflow is an empty home. If you must stay, plan to move ahead of the photographer and remain in already-scanned areas.
Relocate pets off-site if at all possible. Crated pets still make noise and movement, and pet beds, bowls, and litter boxes should be stored away.
Set the thermostat to a comfortable temperature. Scan sessions run two to four hours and the equipment operator will be moving constantly.
Provide access instructions for locked rooms, attics, crawlspaces, sheds, and detached structures.
Designate excluded areas clearly. Tell your Invision Studio photographer at the start which spaces should not appear in the finished tour.
Do not re-enter scanned rooms to grab something. Moving an object mid-capture creates alignment conflicts in the 3D model.
Mistakes That Cost You a Reshoot {#mistakes}
- Leaving ceiling fans running — the single most common cause of scan defects.
- Closing doors behind the photographer, which severs the navigation path.
- Letting a pet wander into frame, producing a smeared or duplicated artifact.
- Forgetting the garage or basement, then requesting it be added later.
- Scanning before cleaning on the assumption that editing will fix it — Matterport does not retouch clutter.
- Mirrors left dirty or unconsidered. Mirrors reflect the camera and operator; our Matterport 3D Tour Photographers recommend flagging large mirrors in advance so positioning can be adjusted.
- Scheduling too early after a move-in or move-out, when boxes and bare rooms dominate.
Frequently Asked Questions {#faq}
How long does a Matterport 3D scan take? Typically two to four hours for a standard single-family home. Properties under 2,000 square feet often finish in under two hours; large or complex homes can run longer.
Do I need to be home during the scan? No, and it is often better if you are not. Provide access and allow the photographer to work uninterrupted. If you stay, plan to move ahead of the capture.
Can rooms be excluded from a Matterport tour? Yes. Storage rooms, cluttered basements, and private offices can be skipped entirely. Communicate exclusions before the session begins.
Will my personal items show up in the 3D tour? Anything visible at scan time appears in the published tour. Our Matterport 3D Tour Photographers recommend removing or securing all personal and sensitive items beforehand.
What happens if something is wrong after the scan? Minor issues can sometimes be addressed in post-processing, but clutter, dirty surfaces, closed doors, and moving fans cannot be fixed digitally. Prep is the fix.
Should I stage an empty home before scanning? Vacant homes scan cleanly and emphasize square footage, but can feel cold. Even minimal staging — a rug, a plant, a few furnishings in key rooms — meaningfully improves buyer engagement.
Schedule Your Scan With Invision Studio
Preparation is the difference between a 3D tour buyers explore and one they abandon in seconds. At Invision Studio, our Matterport 3D Tour Photographers recommend a short pre-scan consultation to review your floor plan, identify problem areas, and confirm which spaces to include.
Follow the checklist above and your scan day will be fast, efficient, and produce a tour that represents your property at its absolute best.Ready to get started? Contact Invision Studio to schedule your Matterport 3D scan and request a copy of our complete pre-shoot preparation guide.