Do A Walk-Through
Our Luxury Real Estate Photographers suggest that you do a walk through of a projects property before the shoot date. Get a quick tour if possible so that your mind can begin to work out any issues that might come up, ahead of time.
Moreover, sometimes the agent might have a few great ideas of what could make for distinct shots and features of the space that they’d like to showcase.
Turn On The Lights!
Turn on every light you have available to you. It aids in making the space look inviting, warm and comfortable, instead of dry and sterile. The only exception is if all the lights are fluorescent.
If that is the case, our Luxury Real Estate Photographers suggest that you try and switch out the lights if you can for something warmer.
To avoid glare and light leak in rooms with a good amount of light, our Luxury Real Estate Photographers recommend that you underexpose your shot by a stop or so and pull out the shadows and darker areas in post, or for more advanced techniques, our Luxury Real Estate Photographers suggest that you use multiple exposures levels.
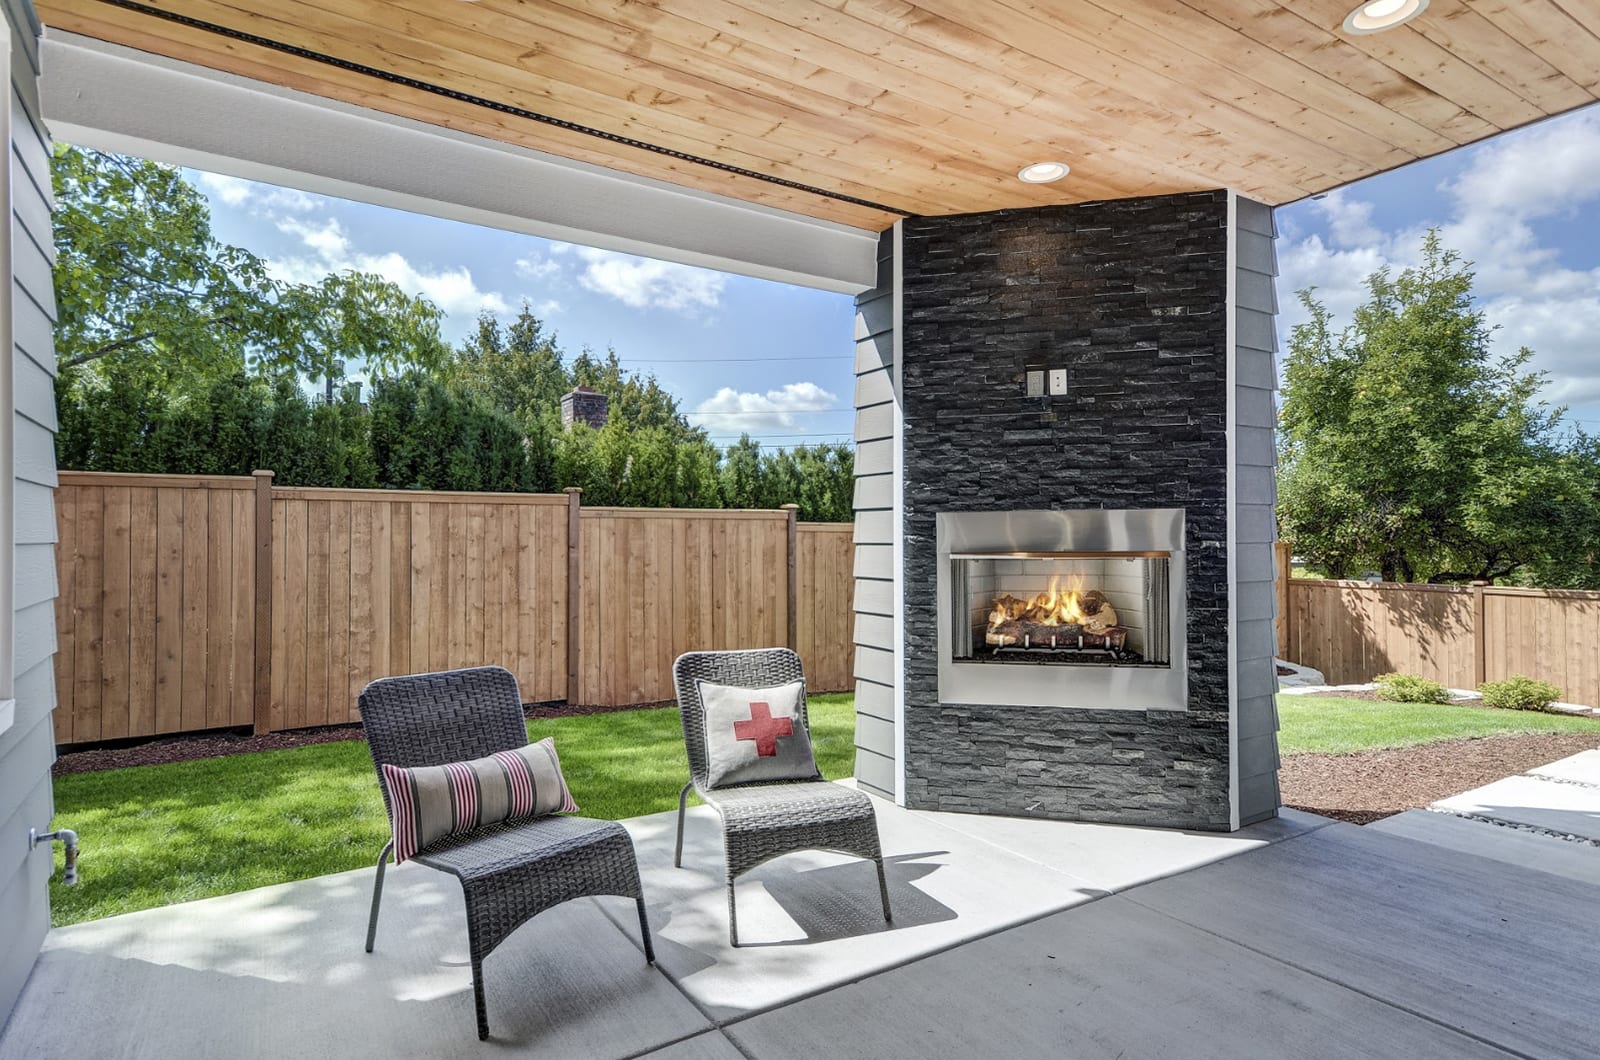
Make Sure You Understand The Importance Of Lines
It’s all about the lines. Always be on the search for leading lines:
- The armrest of a couch leading into the fireplace
- The line of barstools leading into the brick oven
- A row of spice jars leading to the fridge
- A shelf full of trophies leading towards the bed
Not only do they make for a more satisfying photo, but they assist in making the viewer feel a sense of harmony to the space.
DeClutter & Organize
The less clutter the better. Sometimes you can try to shoot around clutter, but most of the time, it’s much more effective to actually spend some time moving it out of the way.
Close Windows & Doors
Our Luxury Real Estate Photographers advise that you close the windows in all the rooms. The last thing you want is to go back to the studio or home to process the images and realize that there are obstructing window frame lines that end up really distracting and time consuming to fix in post-processing. In addition, they take focus away from the window and the scene or light outside.
Additionally, when doors are wide open, they typically tend to distract from the room you’re trying to display. Often it’s aesthetically more pleasing when the doors are either closed all the way, or only left about 1/4 open, which can help show the flow of a room, especially if some warm light is leaking in from that crack in the door.
Deflect Reflections
When shooting in rooms with mirrors or reflective surfaces, such as shower doors in a bathroom, and keeping yourself and your gear out of the shot is unavoidable, try to use the timer on your camera or a remote shutter release to fire the exposure(s).
Furthermore, try to position the camera in a way to minimize any surrounding furniture or elements, so that when you do have to clean up your, or your equipments, reflections in post, you’ll have less that you’ll need to work around.
For the latest property photography tips, aerial photography updates, 360 Virtual Tour projects, immersive 3D Tour trends, and much more, make sure to follow our blog: https://invisionstudio.com/blog/