-
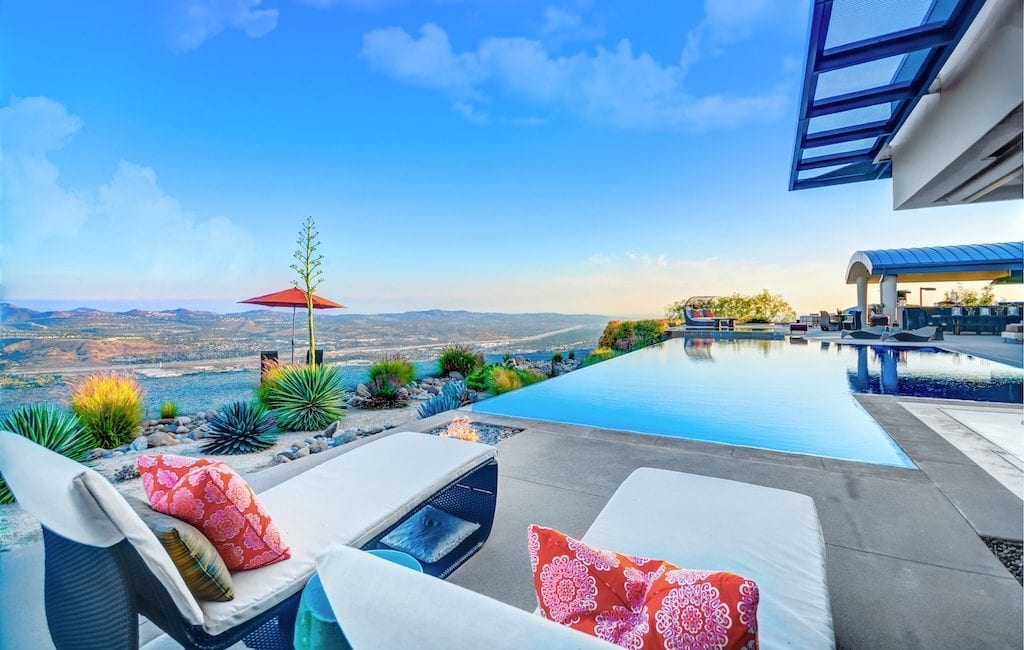
Invest In A Wide Angle Camera Lens to Emphasize Space and Create A Sense of Depth
Our Luxury Real Estate Photographers usually recommend that you always use a wide angle camera lens to capture the full essence of a space. This allows for a wider shot which gives a true sense of both depth and detail.
-
Use HDR Photography When Needed
HDR Real Estate Photography allows you to stand out from the crowd. HDR takes several exposures of the same photo and combines them giving you professional photographs that look rich and full of dynamic shades.
When potential home buyers are searching for photos online, HDR leaves a memorable and notable note due to its uniquely polished look. Nonetheless, make sure to use just enough, as sometimes it might end up looking to cartoonish if overused in the wrong way.
-
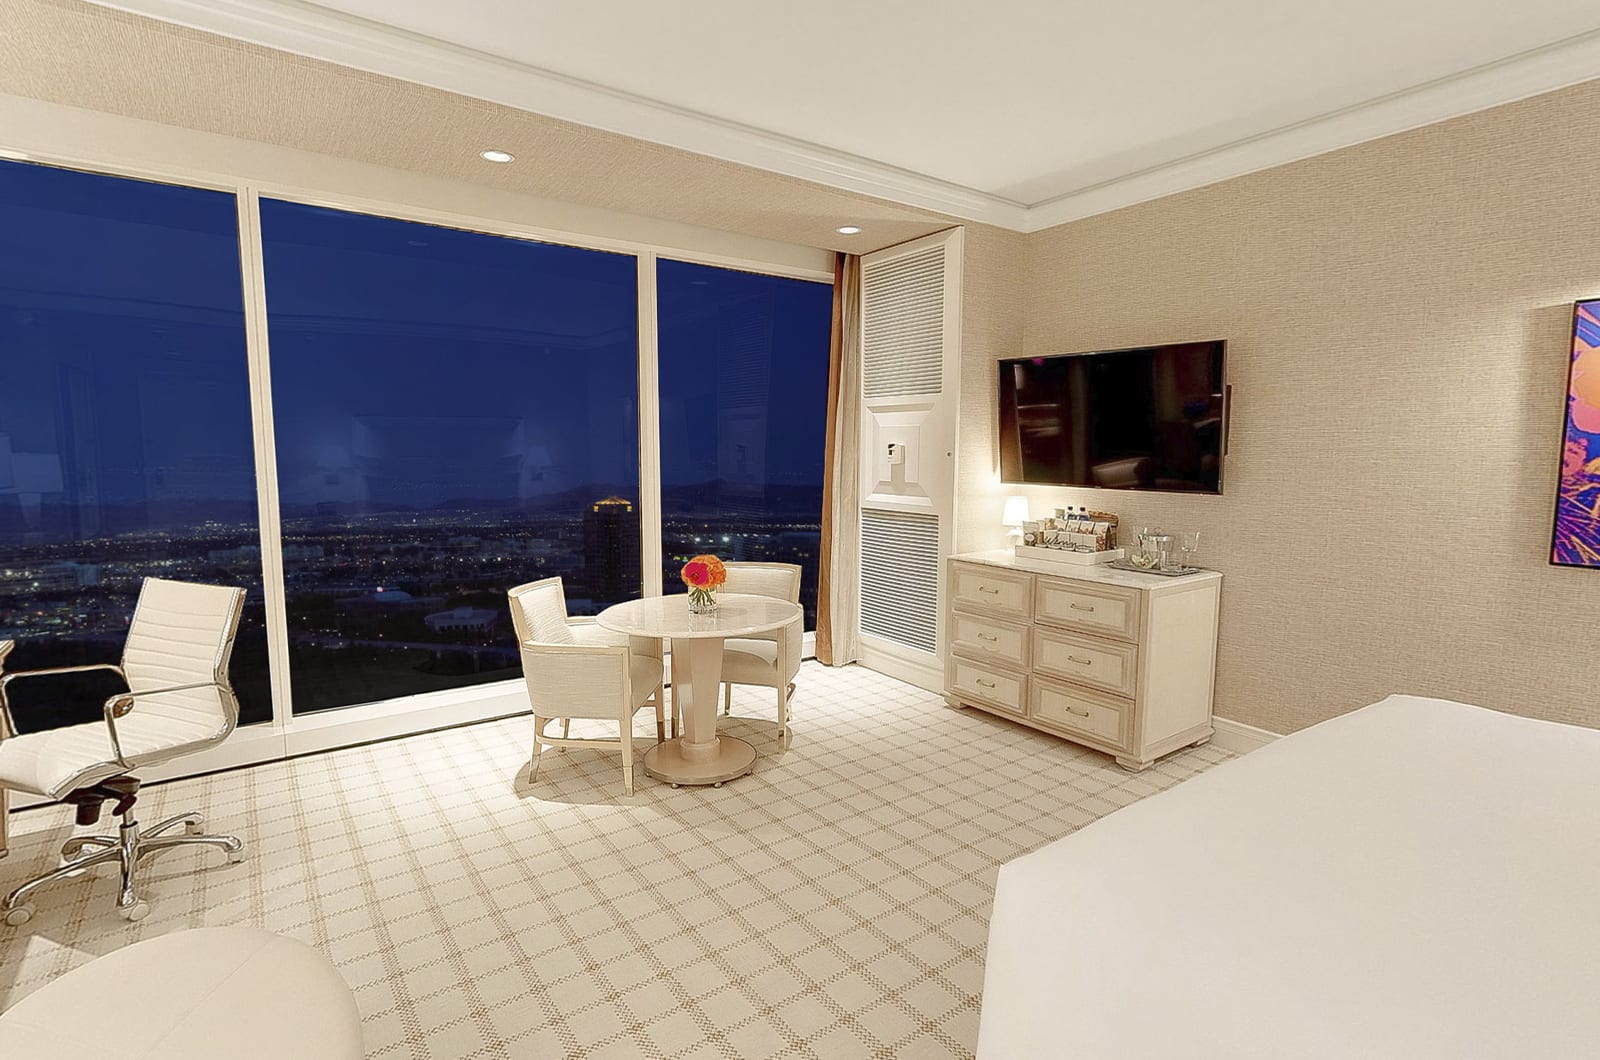
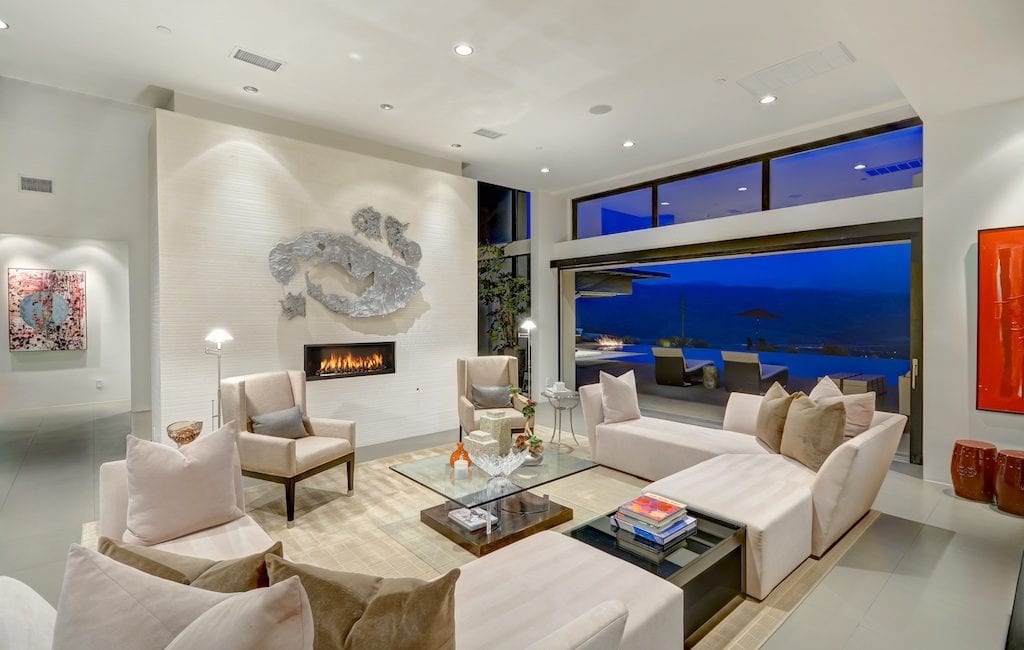
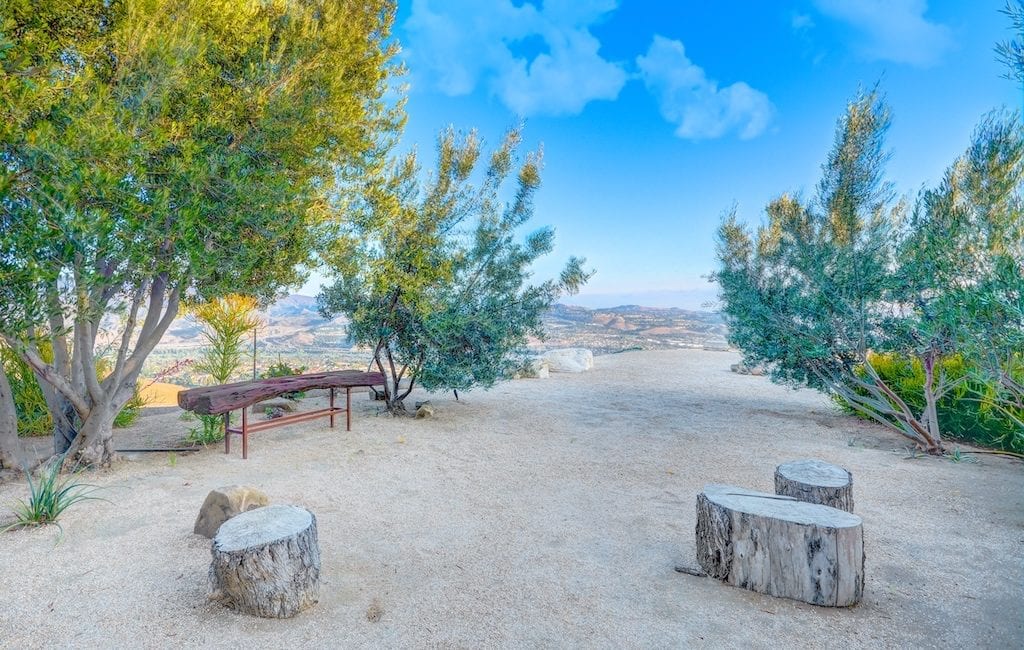
Compose Your Pictures to Emphasize Space and Natural Light
Space and natural light are two qualities that home buyers are always on the hunt for. That’s why our Luxury Real Estate Photographers recommend keeping space and natural light in mind when composing your pictures.
-
Avoid Vertical Orientation At All Costs. Use Landscape Orientation for Optimal Viewing
Shoot your photographs in the horizontal or landscape orientation whenever possible.The human eye sees the world at roughly a 4:3 aspect ratio, though the standard ratio is moving to 16:9. So our brain finds the horizontal/landscape view more pleasing as a result.
-
Hire A Professional Luxury Real Estate Photographer
Don’t economize on the cost of a highly experienced Luxury Real Estate Photographer in the field. This industry is oversaturated with real estate agents who take still photos of high dollar properties with their smartphones. Having professionally-taken photos is truly the key to marketing and selling the home.
According to a 2010 Redfin study, homes that are professionally photographed sell for at least $934 and as much as $18,819 more than homes photographed by an amateur. The study also shows that “homes photographed by a professional garner 61 percent more online views.”
-
Focus on Full Frame Cameras
Generally speaking, larger sensors mean better image quality, better low light performance, but more importantly, a wider field of view, which allows you to capture more of the room in your picture.
-
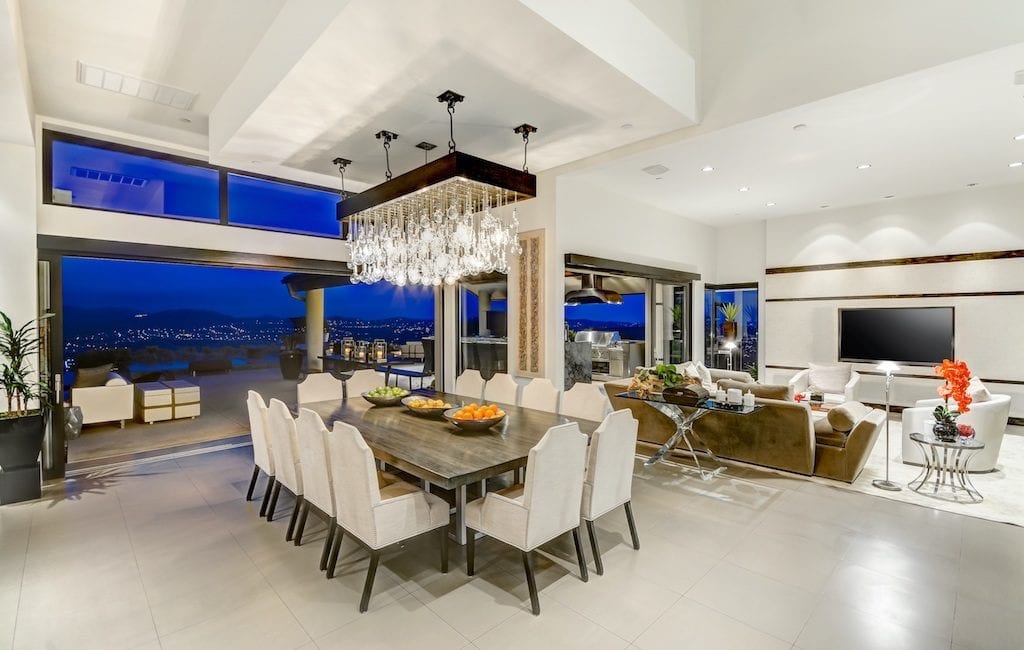
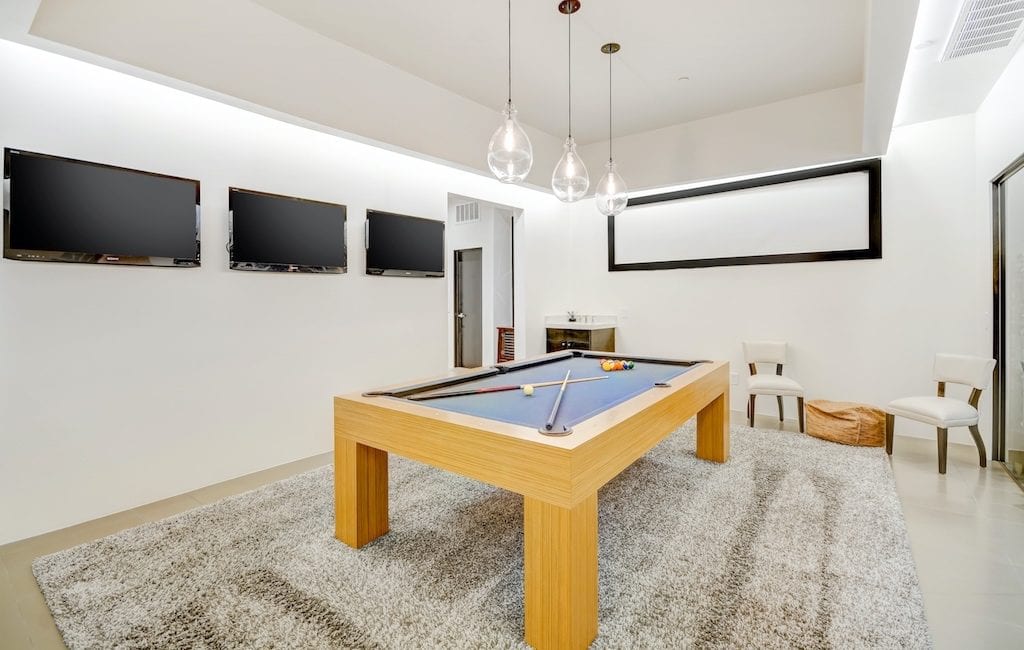
Emphasize the Best Feature in Each Room
Emphasize each room’s selling point, whether it is the natural light in the room, the spaciousness, or the little nook in the corner that will make potential home buyers curious to see more.
-
Prepare Every Room You Plan to Shoot

Here are a few key tips for preparing kitchens and bathrooms for your photo shoot:
Preparing the Kitchen for a Photo Shoot:
- Remove everything from the top and doors of the fridge. This includes magnets, business cards, photos, etc.
- Clear and wipe off the counters. Clean counters look great in photos.
- Hide dish soaps, sponges and paper towels.
- Set up the kitchen or dining table with nice set of dishes.
- A bowl of fruit or bouquet of flowers presents nice on the photos.
Preparing Bathrooms for a Photo Shoot:
- Put down toilet lids.
- Hide any toiletries that are in the shower or bath, as well as on the counter.
- Clean mirrors and any glass surfaces.
- Remove old towels from doors, showers and bathtubs. Hang a new set of towels that coordinate with the paint or tiles.
- Depending on the space, a flower or plant can add a nice touch.
-
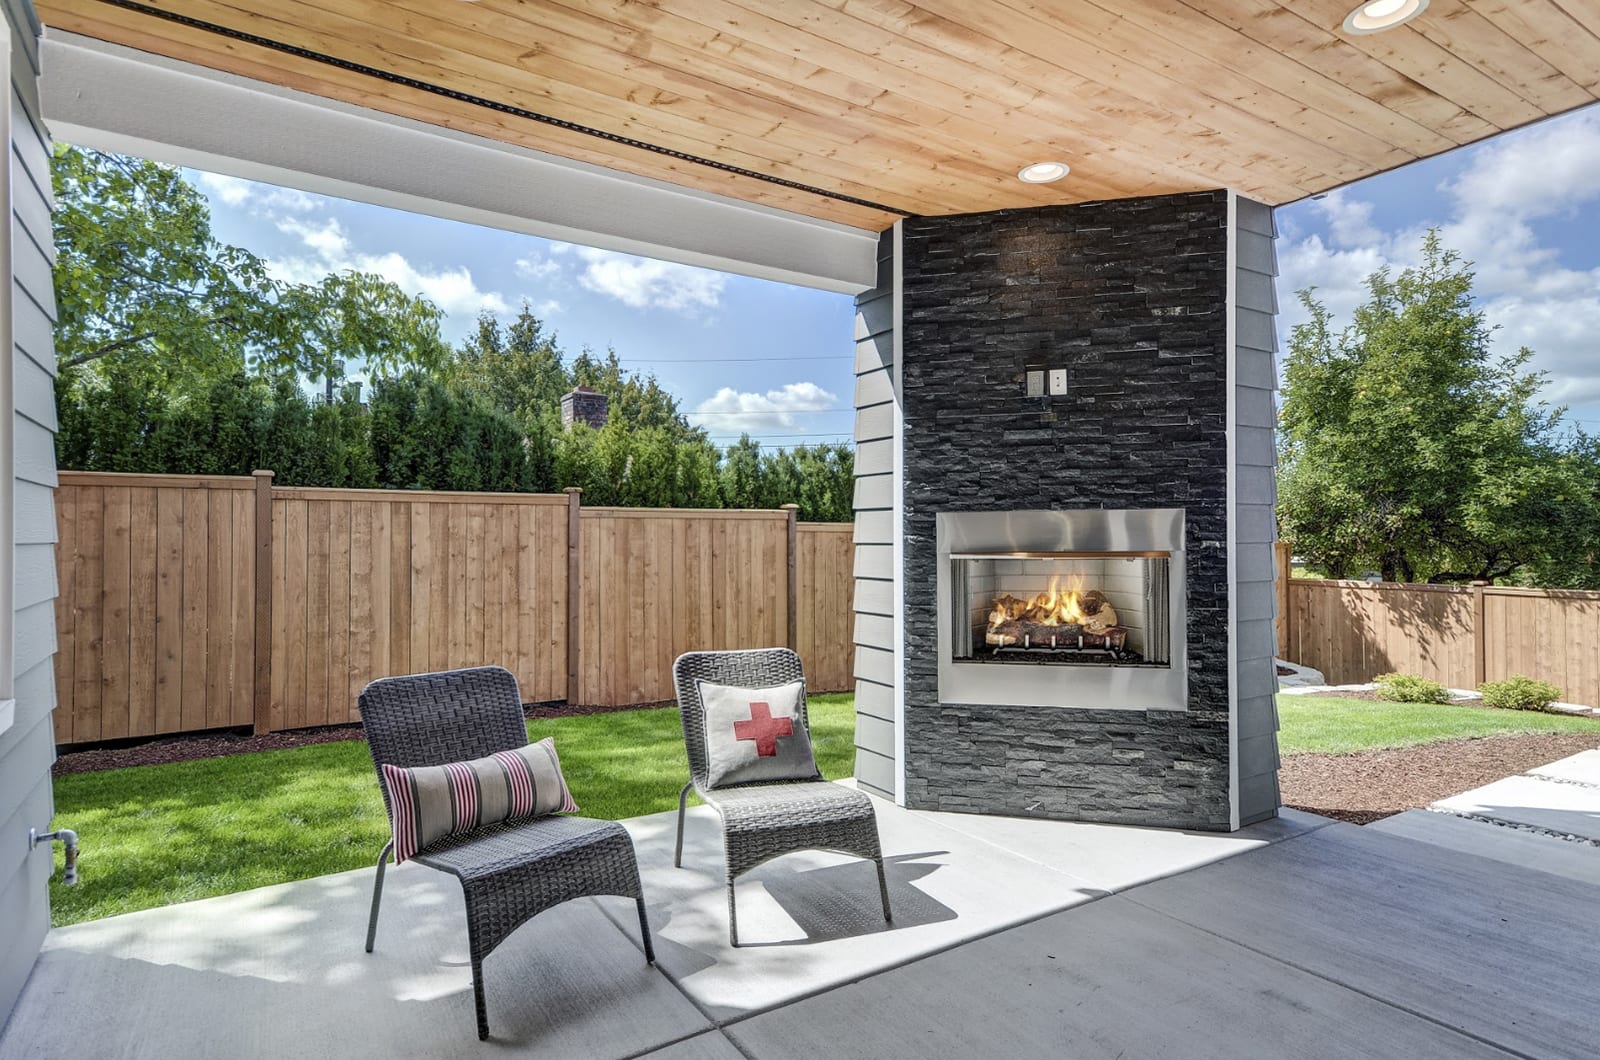
Add A Pop of Bright Color to Bring Your Photos to Life
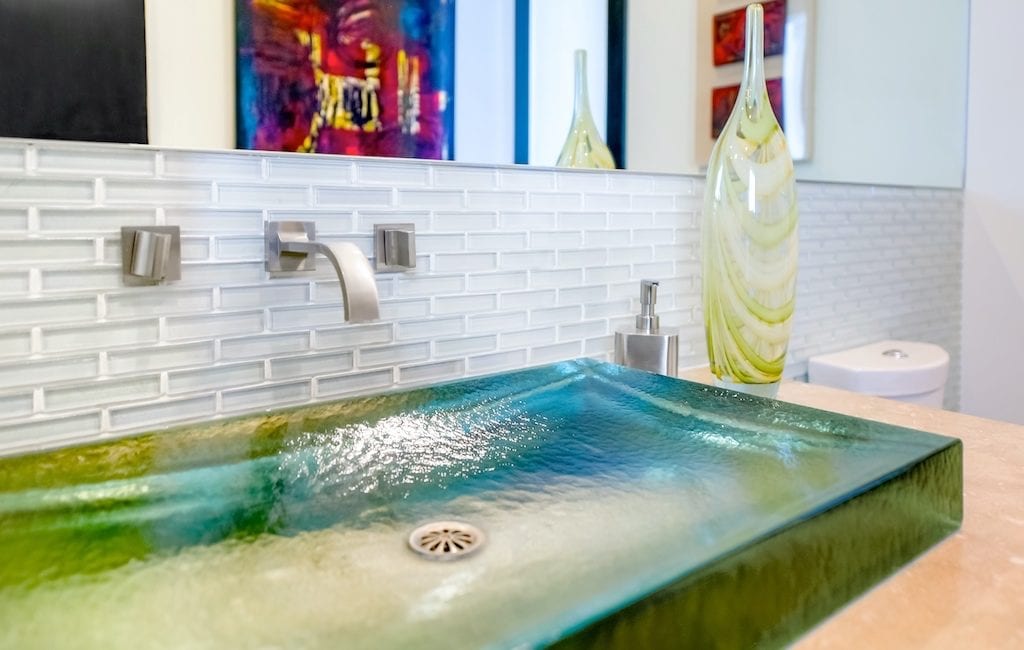
When selling a home, our Luxury Real Estate Photographers suggest that you use a neutral color pallet so the home appeals to a larger pool of potential home buyers. However, in real estate photography, it’s the pops of bright color that photograph well. Our Luxury Real Estate Photographers usually recommend that you use colorful artwork and vibrant pillows to make real estate photos pop and demand attention.
-
Avoid Using Fisheye or Other Tricks Instead of a Wide Angle Lens.
There is a trend right now in Luxury Real Estate Photography to shoot homes with poor quality fisheye lenses. Not only does this look absurd, but it is deceiving to the potential home buyer. Making a space look larger than it is by using a lens that distorts the area is not going to increase a buyer’s interest. They are going to arrive expecting a mansion and viewing a shack. Honest and ‘true’ photos which exemplify the space are usually best.
-
Use a Tripod to Shoot in Natural Light and Get Sharper Images
Most homes look much more appealing when shot in natural light. If you don’t have professional equipment or a very steady hand, pictures taken without a tripod in natural light will look dark and blurry.
Tripods allow you to shoot at slower shutter speeds to take advantage of natural light while still keeping images sharp.
-
Shooting Interiors – Five Surefire Tips and Tricks
Our Luxury Real Estate Photographers put together a list of five tips and tricks to take better pictures of interiors. These tips include:
- Using natural light
- Shooting in RAW mode
- Shooting straight into a room
- Capturing more of a room by moving furniture or backing up into a doorway
- And understanding aperture and depth of field
-
Understand Your Angles
The angle at which you are displaying the various rooms in a home is extremely essential. For example, if you are looking to showcase some high end cabinetry in a home, you want to take a shot of the cabinets from an angle that will show not only the depth of the cabinets but also the quality of the cabinets.
Closing
For the latest tech news and trends, Matterport 3D Tour information, Aerial Photography Service updates, 360 Virtual Tour projects, incredible HDR Real Estate Photography images, Architectural Photographer tools and much more, make sure to follow our blog: https://invisionstudio.com/blog/