Buying a home is no small decision, and today’s homebuyers are more informed and aware as customers than ever before.
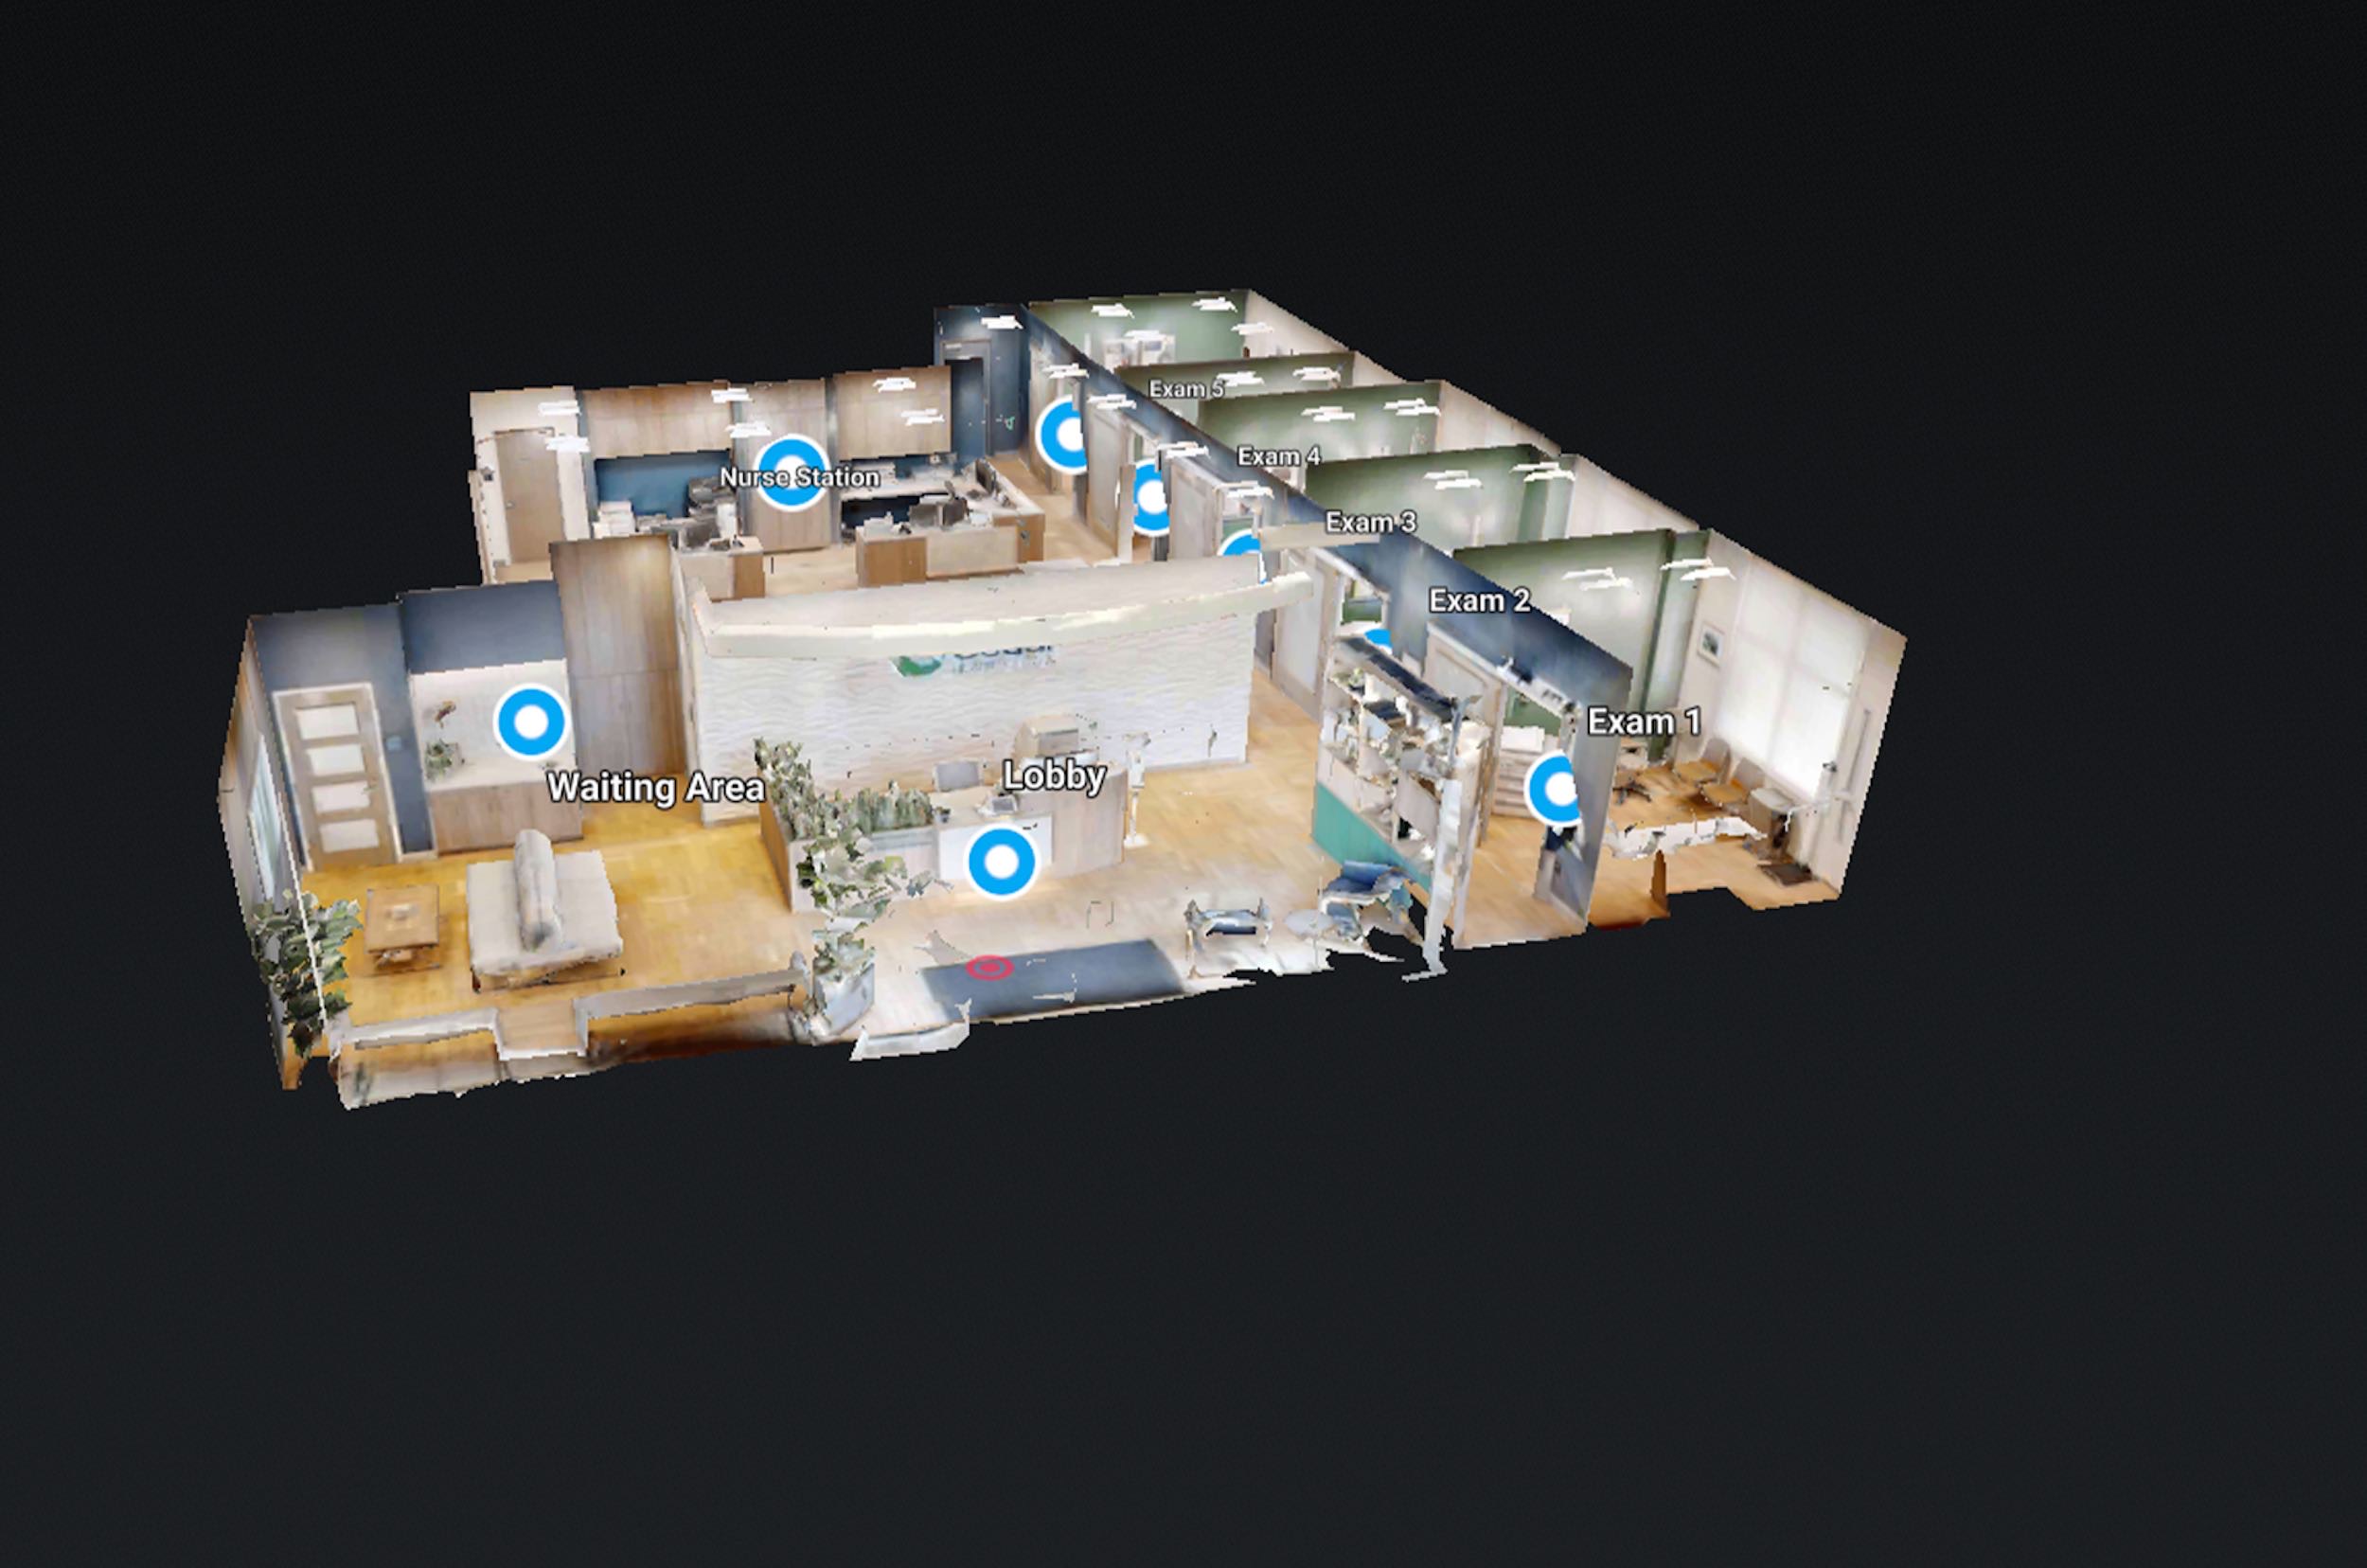
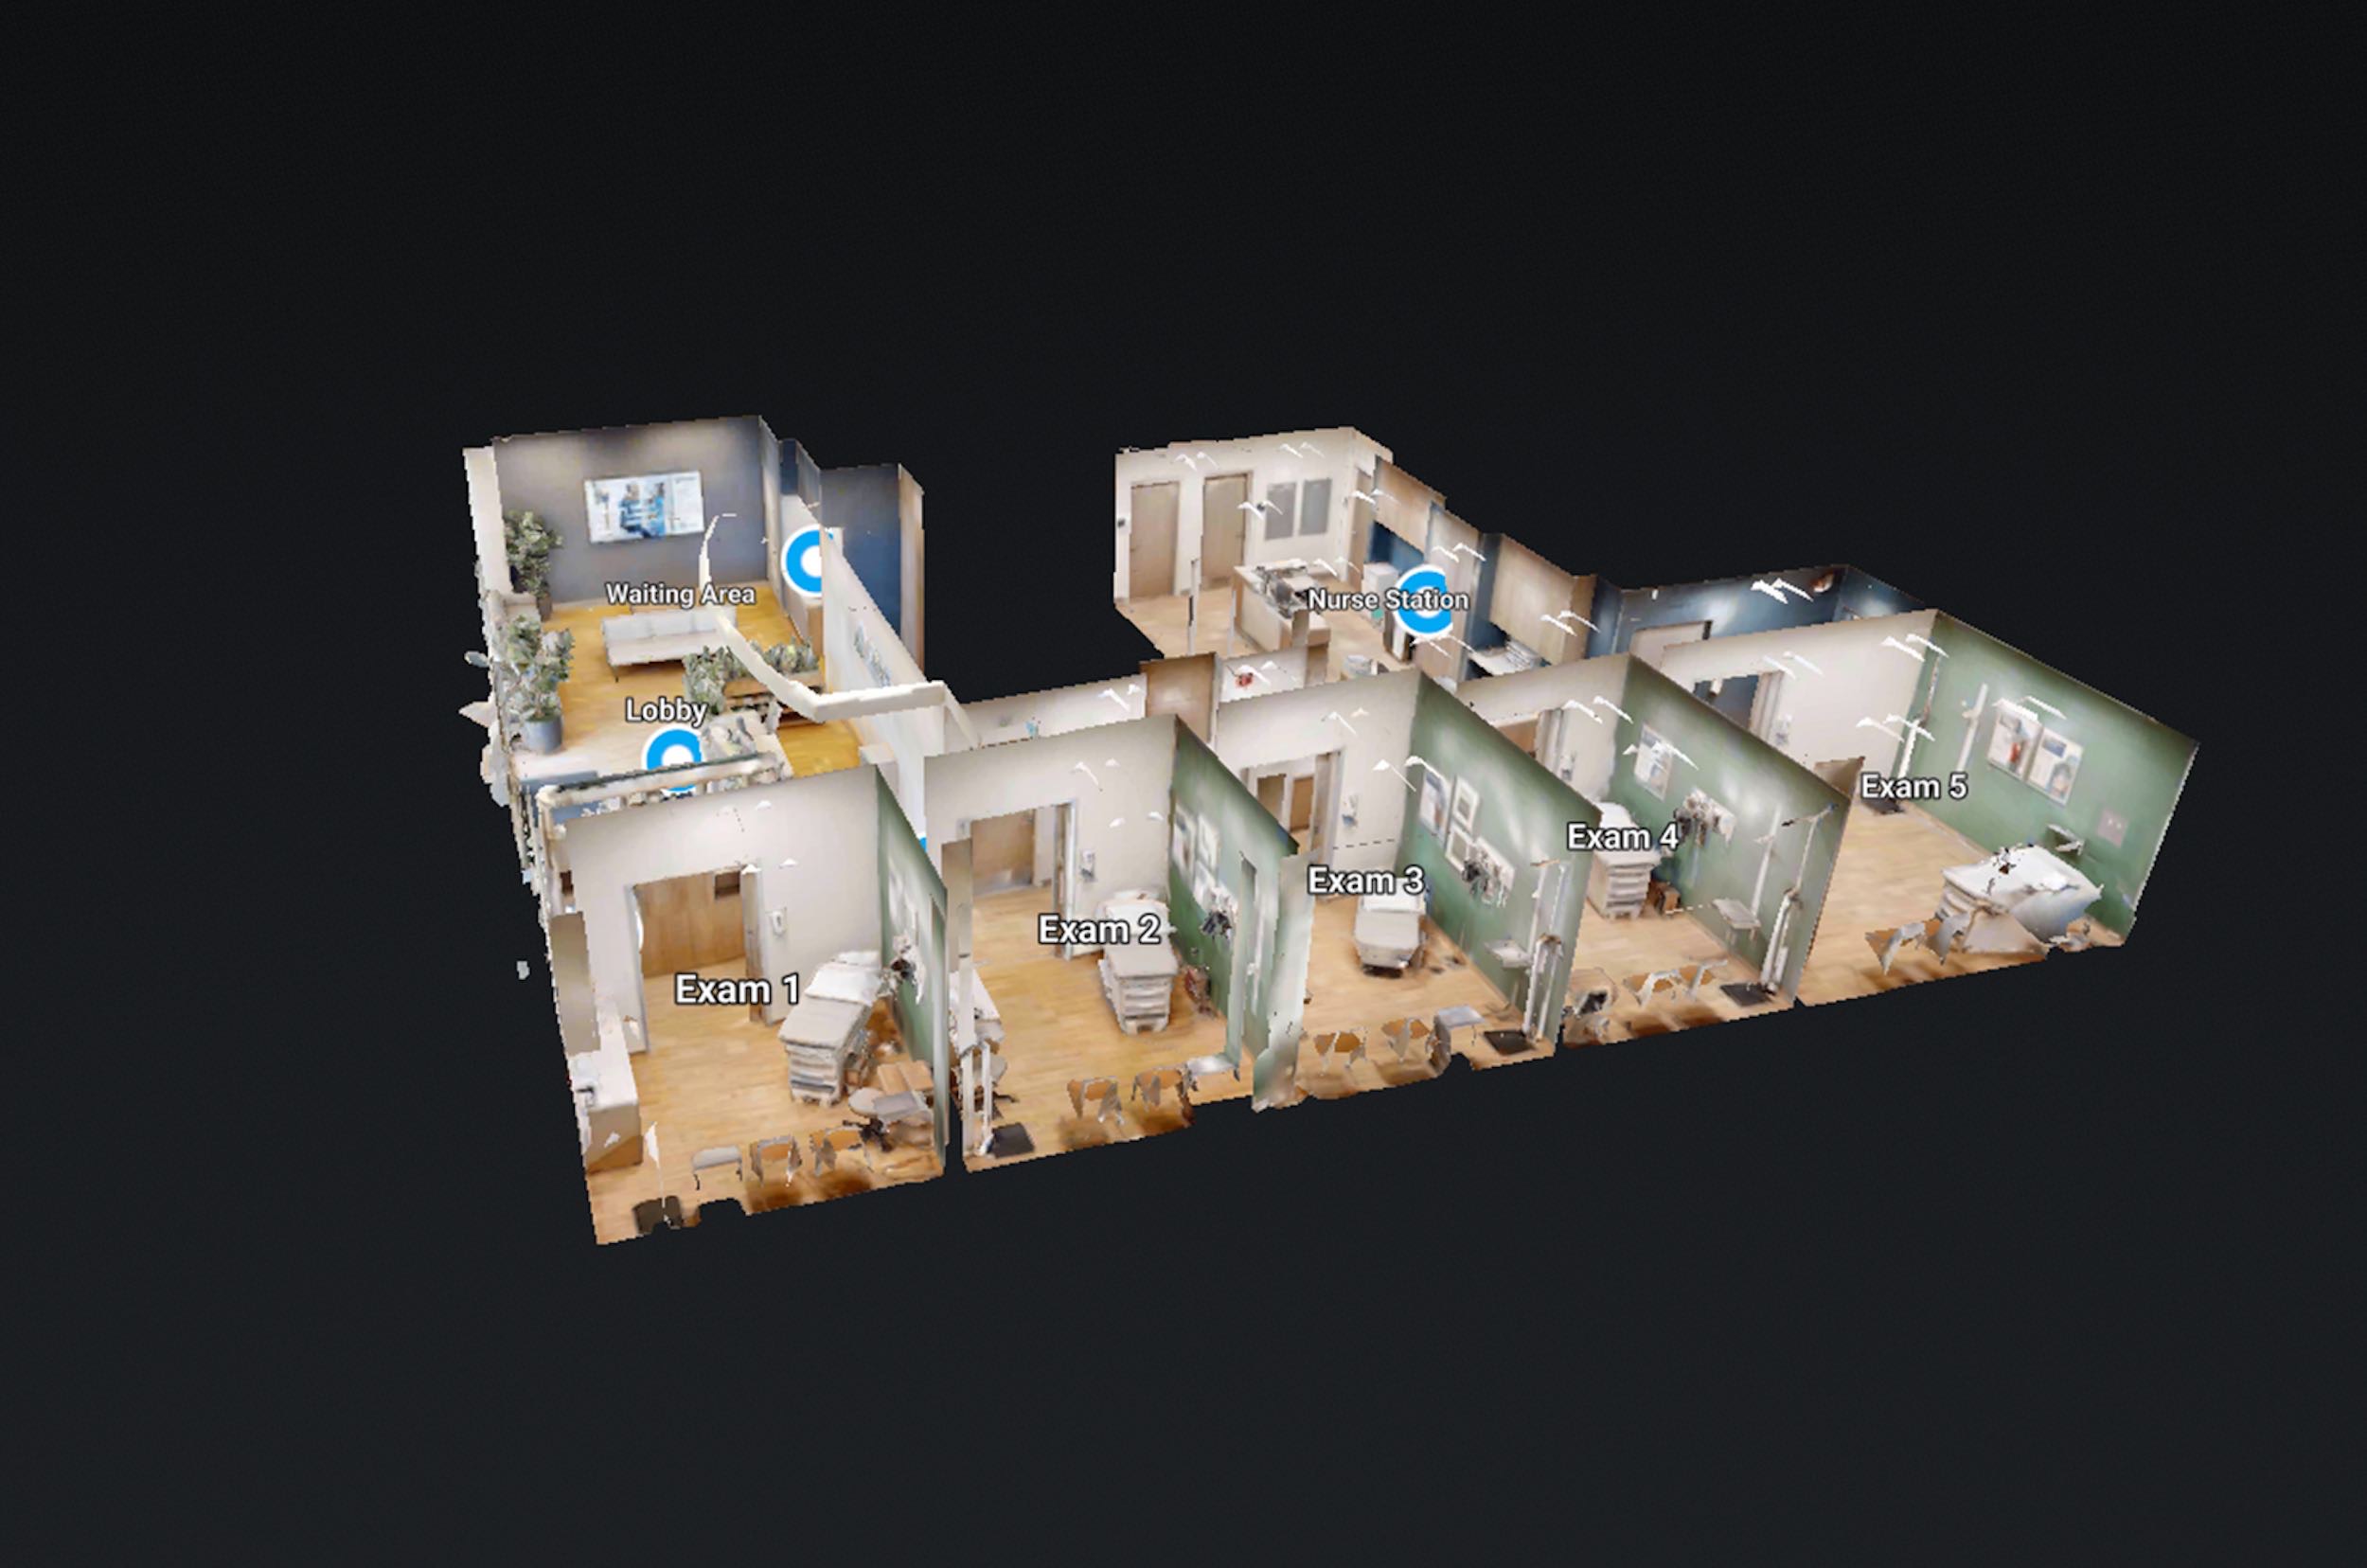
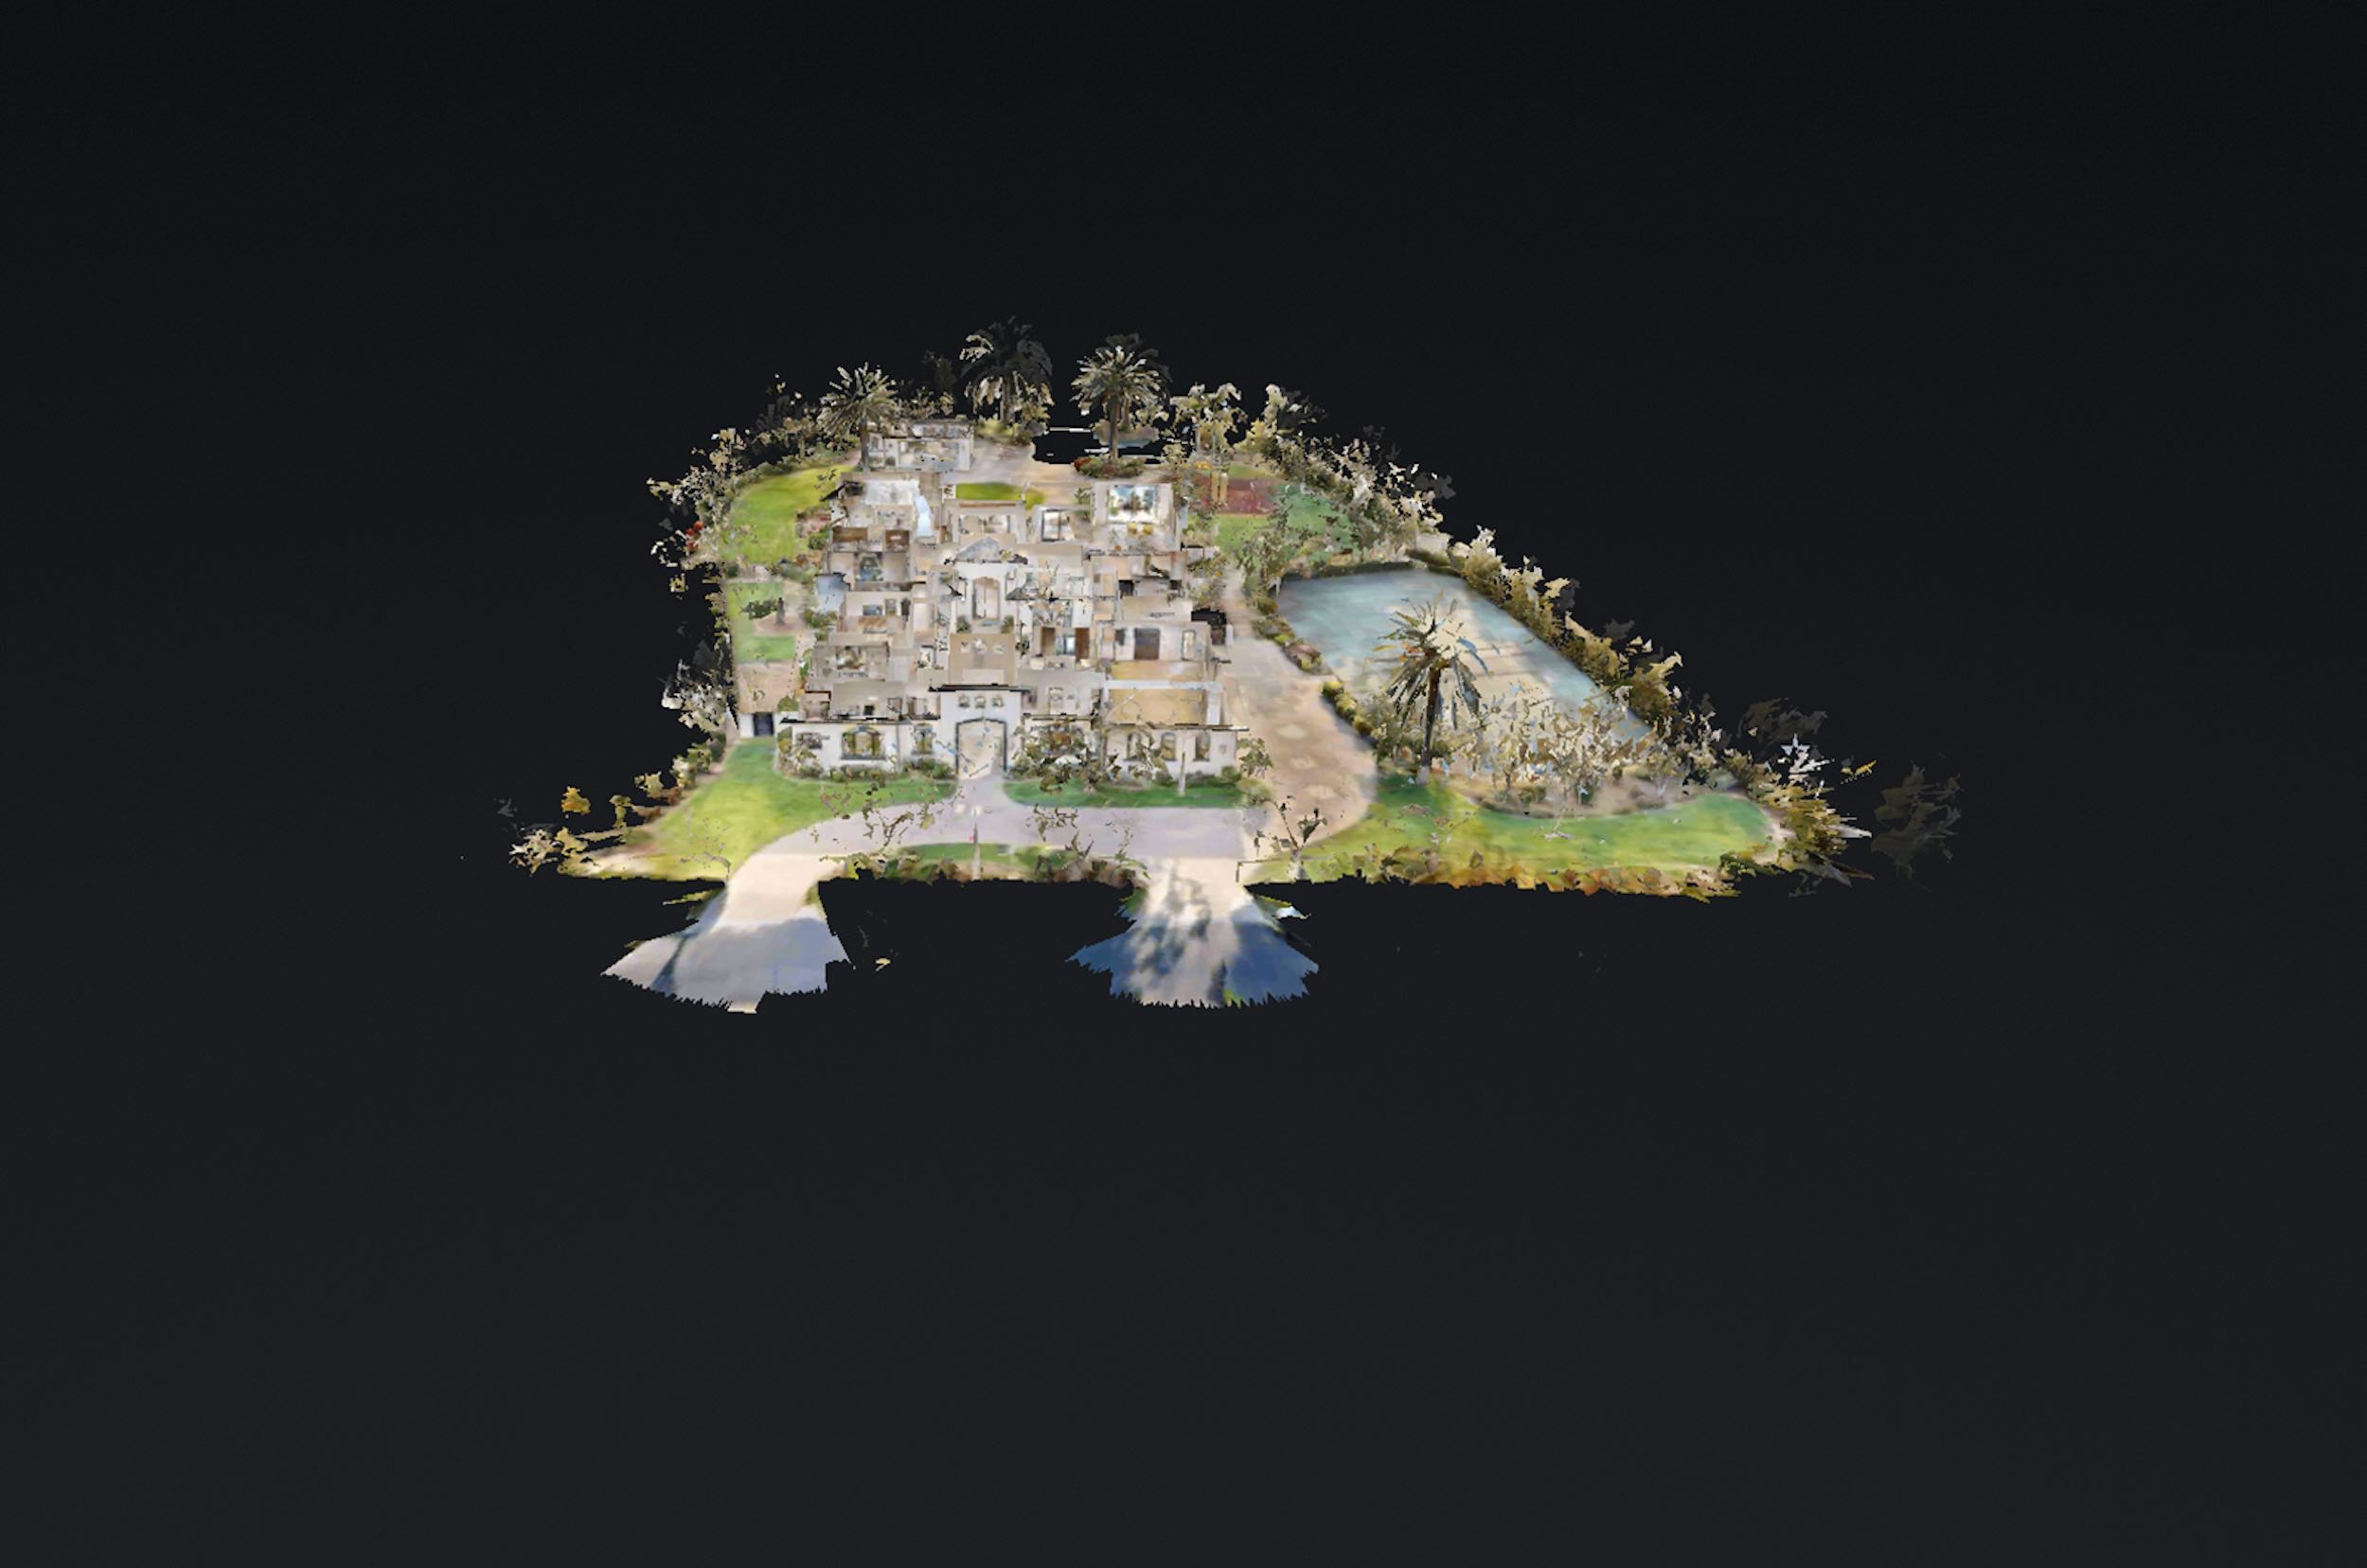
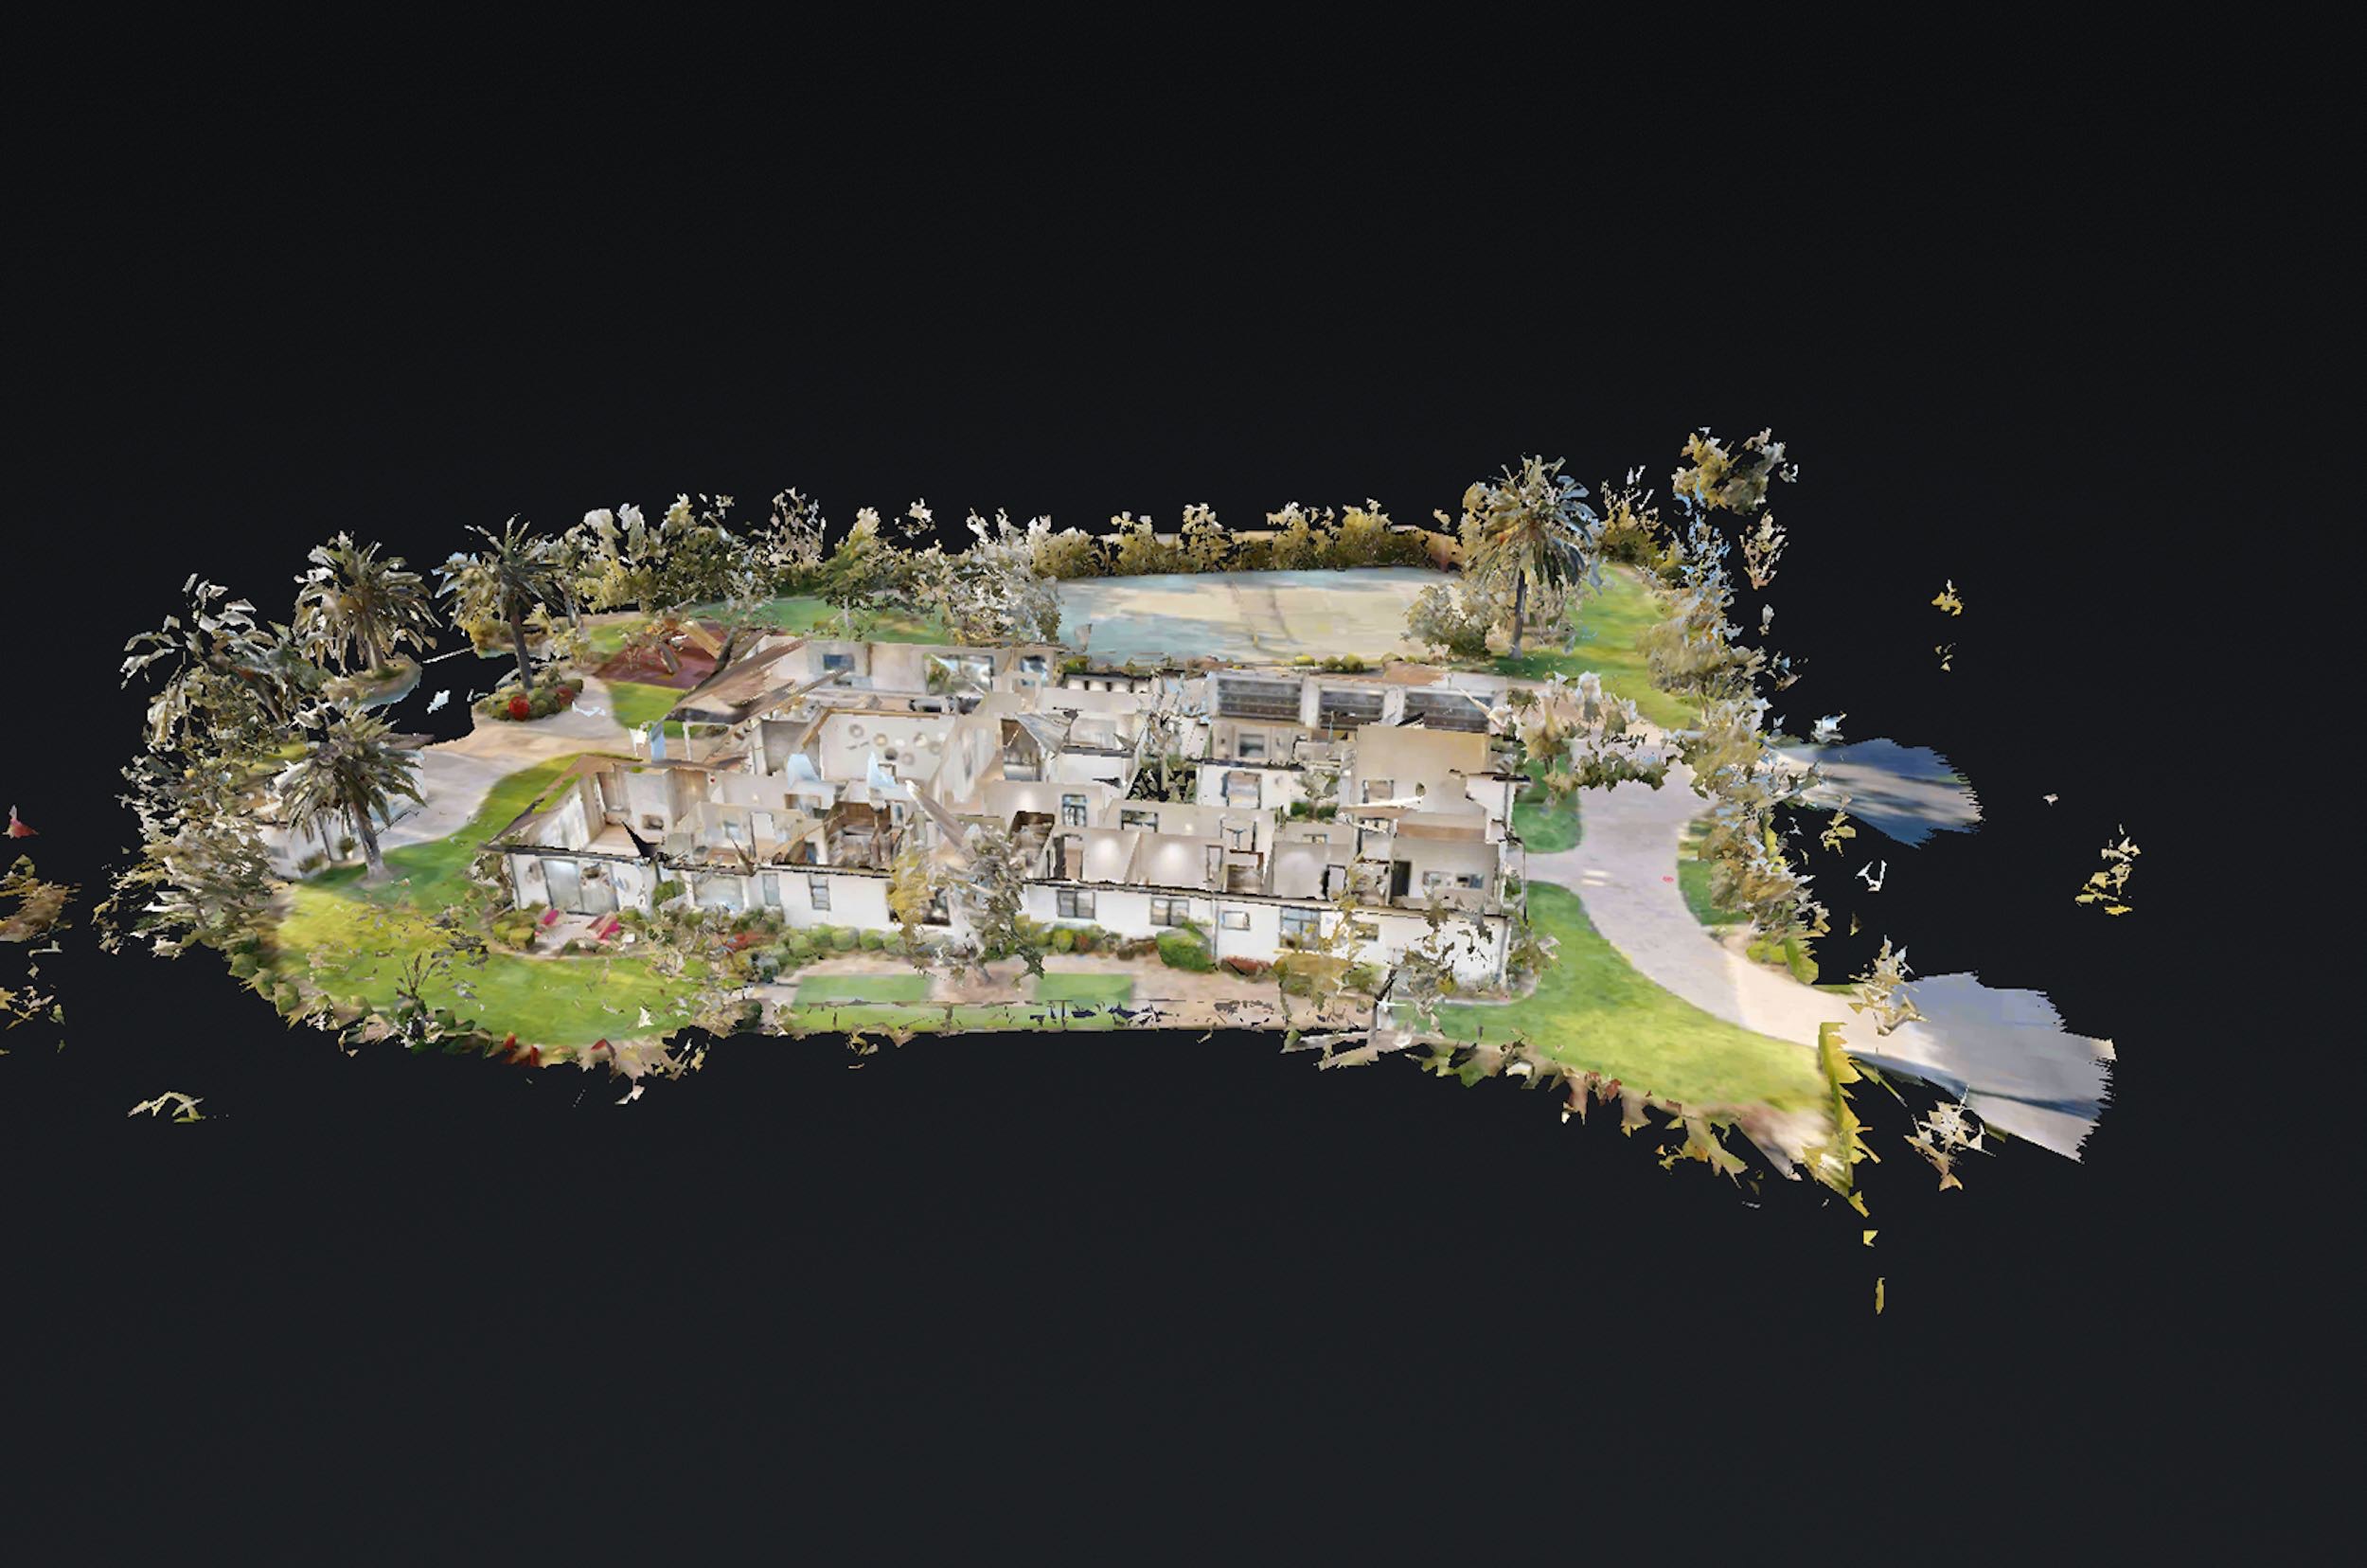
In this increasingly competitive landscape of listings and properties, virtual tours are fast becoming a powerful and elegant way to elevate your property listing and separate yourself from the competitors.
What Are The Benefits of Virtual Tours?
Virtual tours and panoramic photographs give the homebuyer something unique: a feel for the place. You’re dropping them into the home and allowing them to see every nook and cranny.
You are letting them envision themselves inside.
That’s something that still photographs and a bullet list of details just can’t compete with.
Additionally, many virtual tours allow the homebuyer to engage and interact with the picture; they can click around, zoom in and out, and research details up close. And for making a decision as large as purchasing a house, that level of transparency matters.
Other benefits:
Fast and Easy to Create
Saves you from revealing properties to low-intent customers in person, so that you have more time to go after high-intent buyers
No time-limit for the customer; they can explore the property as long as they want
Ready to step your real estate marketing? Here’s a primer on the best way to shoot your own 360° panoramic pictures for your virtual tour. (make sure you check out our tips on how to photograph your property too!)
The 360° Panoramic Photo
Panoramic photos are simply a string of overlapping shots that are”stitched together” to create just one long, continuous shot. Most virtual tours today are comprised of 360° panoramic photographs.
Cameras: Panoramic or DSLR?
While there are special cameras designed for taking epic panoramic photos, we advocate shooting with a DSLR and creating the panorama using a photo-stitching software. Panoramic cameras can run as high as $10k; unless you are planning to take the Aurora Borealis, a DSLR (or even a nicer point-and-shoot) will do just fine.
Taking 360° Panoramic Photos with a DSLR Camera
Properly Pick Your Space
Decide on a corner of the room that allows for the best perspective of the space. You’ll set the camera here and take photos of everything from this one location.
Keep Your Camera Steady
Utilize a tripod to help keep your camera steady throughout the shots. As you’re ultimately creating one long, continuous image, it’s crucial to maintain your shot set up as consistent as you can.
Set Up the Shot
Level your camera (usually found at the Menu section or as its own separate button) to make sure your photographs are all straight.
Shoot on full manual mode (including manual exposure, focus and white balance). We recommend shooting your photos vertically (you can crop and edit the top and bottom of the image later).
Now Shoot!
Take 8-10 pictures of the space from left to right (or right to left) until you’ve covered the whole room.
Stitch Everything Together
Stitch your photos together with a few of the many panorama photo stitching software programs listed below.


