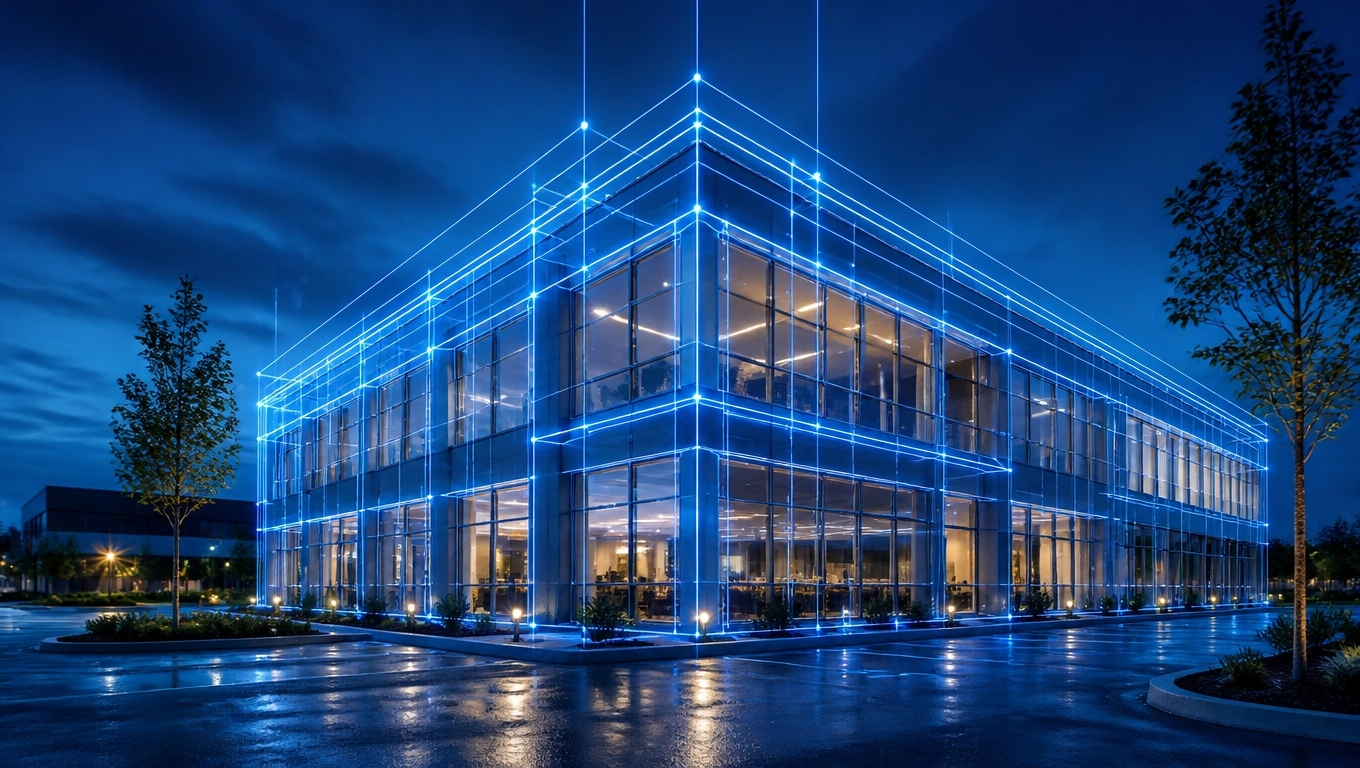
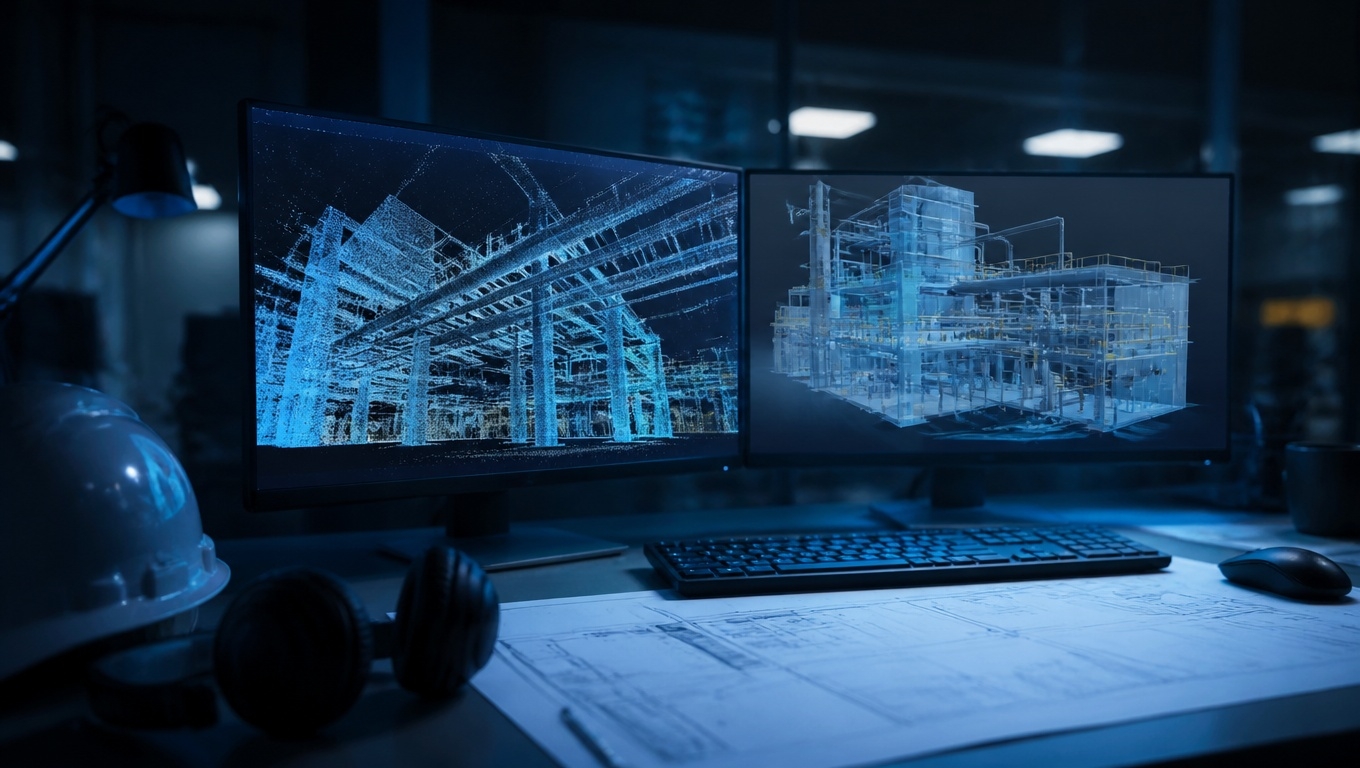
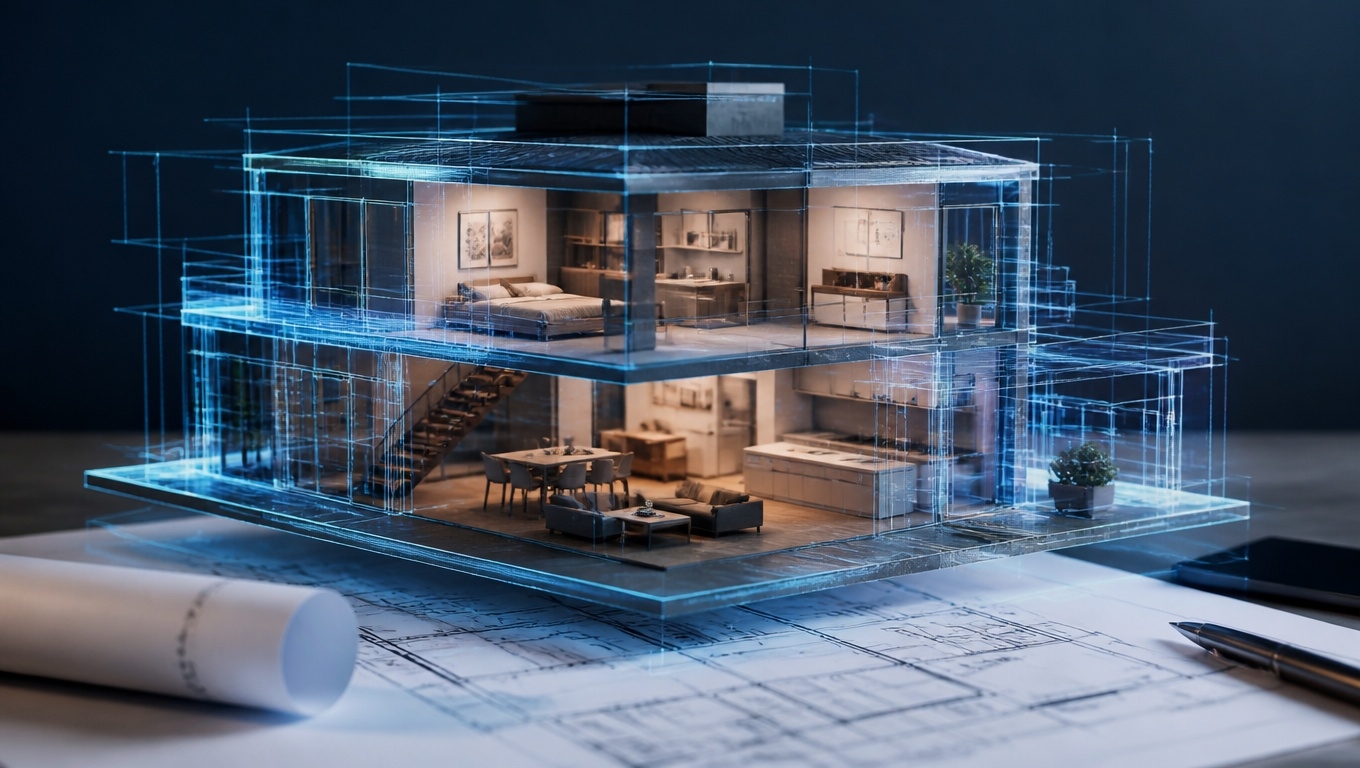
In most cases, every interior light should be turned on before a Matterport shoot, including lamps, overhead fixtures, under-cabinet lighting, closet lights, and exterior porch lights. Lights-on creates warmth, eliminates dark corners, and helps the camera balance interior brightness against window light.
There are a small number of exceptions — such as conflicting colour temperatures or heavy mixed lighting — which our Matterport 3D Tour Photographers assess on site.
Table of Contents
- The Short Answer
- Why Lights-On Is the Default Recommendation
- The Technical Reason: HDR, Dynamic Range and Window Balance
- Room-by-Room Lighting Checklist
- When Lights Should Not Be On
- Bulb Consistency: The Most Overlooked Detail
- Vacant Properties and No-Power Situations
- Commercial and Large-Space Considerations
- How Invision Studio Handles Lighting On Site
- Frequently Asked Questions
Key Takeaways
- Turn on every light at least 30 minutes before the appointment — this allows bulbs to reach full brightness and gives time to spot failures.
- Lights-on improves perceived warmth and space. Illuminated fixtures read as “lived-in” and inviting in a 3D tour, while dark rooms read as small and neglected.
- Mismatched bulb colours are the single biggest lighting mistake. Mixing warm and cool bulbs in one room creates colour casts our Matterport 3D Tour Photographers then have to correct in post.
- Replace burnt-out bulbs before the shoot. A dead bulb is visible in the final tour and cannot be fixed afterward.
- Exceptions exist. Fluorescent tubes, coloured LED strips, and some mixed-source rooms may be better switched off — our Matterport 3D Tour Photographers make that call on site.
- Vacant properties need power connected. Portable lighting helps, but it is never a full substitute for working fixtures.
The Short Answer
If you take one instruction from this article, make it this: turn everything on.
Our Matterport 3D Tour Photographers include this in every pre-shoot preparation guide because it is the highest-impact, lowest-effort step a property owner can take. It costs nothing, takes ten minutes, and measurably improves the finished digital twin.That includes:
- Ceiling and recessed lights
- Table and floor lamps
- Under-cabinet and over-cabinet lighting
- Pendant lights and chandeliers
- Bathroom vanity lights
- Closet and pantry lights
- Stairwell and hallway fixtures
- Garage lighting
- Exterior porch, entry, and landscape lights
- Range hood lights and appliance lighting
Why Lights-On Is the Default Recommendation
There are three reasons our Matterport 3D Tour Photographers insist on this.
1. Fixtures are part of the design. A chandelier that isn’t lit is just an object hanging from the ceiling. A lit one is a feature. Buyers, tenants, and clients notice illuminated fixtures as deliberate design choices. Switched-off lighting flattens a space visually.
2. Dark corners make rooms look smaller. Shadowed corners compress perceived space. Even lighting pushes the visual boundaries of a room outward, which matters enormously in a navigable 3D tour where viewers “walk” through the space.
3. Warmth reads as livability. This is psychological rather than technical. Warm interior light signals comfort and habitation. Cold or unlit interiors read as vacant, clinical, or unfinished — even when the property is beautifully staged.
The Technical Reason: HDR, Dynamic Range and Window Balance
Here’s the part most preparation guides skip.Matterport cameras capture interiors using HDR bracketing — shooting the same scene at multiple exposures and merging them. This handles the enormous brightness gap between a dim interior and a bright window.But HDR has limits.
The wider the gap between the darkest and brightest areas in a room, the harder the camera has to work, and the more artificial the merged result can look.
Turning on interior lights narrows that gap. By raising the baseline brightness of the room, you reduce the contrast ratio between the interior and the windows. The HDR merge becomes cleaner, colours stay more natural, and window views are more likely to be preserved rather than blown out to white.Our Matterport 3D Tour Photographers describe it simply: lights-on means the camera has less work to do, and less work means a more natural-looking result.
Room-by-Room Lighting Checklist
| Space | What to Turn On | Common Oversight |
|---|---|---|
| Kitchen | Overhead, under-cabinet, pendant, range hood | Under-cabinet lights left off |
| Living room | Ceiling, floor lamps, table lamps, accent | Lamps unplugged for staging |
| Bedrooms | Overhead, bedside lamps, closet lights | Closet lights forgotten |
| Bathrooms | Vanity, overhead, mirror lighting | Burnt vanity bulbs |
| Hallways | All fixtures, stairwell lighting | Dimmers left at low setting |
| Basement | Every available fixture | Pull-chain lights missed |
| Garage | Overhead and workbench lighting | Door opener light only |
| Exterior | Porch, entry, pathway, landscape | Only relevant for dusk shoots |
| Dimmer switches: Set them to full brightness unless our Matterport 3D Tour Photographers advise otherwise. A dimmer at 40% produces an uneven, orange-tinted result. |
When Lights Should Not Be On
Lights-on is the default, not an absolute rule. Our Matterport 3D Tour Photographers will sometimes recommend switching specific fixtures off:
Harsh fluorescent tubes. Older fluorescent lighting in basements, garages, and commercial spaces can produce a green-cyan cast that fights with warmer sources. If natural light or supplemental LED panels are sufficient, fluorescents may be better off.
Coloured or RGB LED strips. Accent lighting in purple, blue, or green dramatically skews the colour of surrounding surfaces. Unless it’s a deliberate feature of the space, these are usually switched off.
Severely mismatched rooms. If one room contains a 2700K warm bulb, a 4000K neutral bulb, and a 5000K daylight bulb, the resulting colour cast can be worse than simply turning everything off and relying on window light. Replacing bulbs is the better fix, but switching off is the fallback.
Fixtures directly in frame with extreme brightness. Occasionally a very bright, bare fixture positioned close to a scan point creates flare. Our Matterport 3D Tour Photographers may adjust or temporarily disable it.
Bulb Consistency: The Most Overlooked Detail
If you want to go beyond the basics, this is where to focus.Colour temperature is measured in Kelvin. Common ranges:
- 2700K–3000K — Warm white. Residential standard. Cosy, inviting.
- 3500K–4000K — Neutral white. Kitchens, bathrooms, offices.
- 5000K–6500K — Daylight/cool white. Garages, workshops, clinical spaces.
Within a single room, all bulbs should match. Mixing temperatures creates visible colour banding — one half of a kitchen looking yellow and the other blue. This is correctable in post-processing, but correction is never as clean as getting it right in camera.Our Matterport 3D Tour Photographers recommend standardising on 2700K–3000K for residential interiors and 3500K–4000K for commercial and office spaces.
Vacant Properties and No-Power Situations
Vacant listings, new construction, and pre-lease commercial units frequently have utilities disconnected. This is one of the few scenarios where lighting genuinely limits what’s achievable.Scanning is still possible — our Matterport 3D Tour Photographers carry portable LED panels — but there are real trade-offs:
- Interior rooms and bathrooms without windows will be noticeably darker
- Capture takes longer
- Colour consistency is harder to maintain
- Fixtures appear unlit, which reads as “unfinished”
Our recommendation: arrange for power to be connected before the appointment whenever possible. If that isn’t feasible, let us know in advance so our Matterport 3D Tour Photographers can bring additional lighting equipment and allocate extra time.
Commercial and Large-Space Considerations
Commercial properties bring their own lighting complications:
Zoned lighting systems. Many offices and retail spaces run on zoned or scheduled controls. Confirm with building management that all zones can be activated during the scan window — including areas that are normally motion-triggered.
Motion sensors. Corridors and restrooms on occupancy sensors can switch off mid-capture, producing inconsistent brightness between scan points. Where possible, these should be overridden.
After-hours scans. Scanning outside business hours is common for retail and office spaces, but it means no natural light at all. Our Matterport 3D Tour Photographers plan supplemental lighting accordingly — just flag it when booking.
Warehouse and industrial. High-bay metal halide lighting takes several minutes to reach full output. Turn these on well before arrival.
How Invision Studio Handles Lighting On Site
Our Matterport 3D Tour Photographers follow a consistent on-arrival process:
- Walk the property and identify every light source before setup begins
- Switch everything on and note any burnt-out or non-functioning fixtures
- Assess colour temperature conflicts room by room
- Set dimmers to full unless there’s a reason not to
- Deploy supplemental LED panels in windowless or underlit spaces
- Flag issues to the client so they can be addressed if a return visit is planned
We’d rather spend fifteen extra minutes on lighting than deliver a tour with a dark bedroom or an orange-cast kitchen.
Frequently Asked Questions
Do all lights need to be on during a Matterport shoot? Yes, in almost all cases. Turn on every interior fixture — overhead lights, lamps, under-cabinet lighting, closet and pantry lights — at least 30 minutes before the appointment. Exceptions include harsh fluorescents and coloured accent lighting, which our Matterport 3D Tour Photographers assess on site.
Should curtains and blinds be open or closed? Generally open, to let in natural light and show window views. Our Matterport 3D Tour Photographers may close or partially close them if glare, a poor view, or heavy rain makes windows unflattering.
Does it matter if some bulbs are different colours? Yes. Mismatched colour temperatures within one room create visible colour casts. Standardise bulbs — ideally 2700K–3000K for residential spaces — before the shoot.
What if a light fixture is burnt out? Replace it beforehand. A dead bulb appears as a dark fixture in the finished tour and cannot be corrected in post-processing.
Can Matterport scans be done without any lights on? Technically yes, using natural light and portable LED panels, but quality suffers significantly — especially in windowless rooms. It is not recommended unless power is genuinely unavailable.
Should exterior lights be on? For daytime shoots, exterior lights have minimal impact. For twilight or dusk photography, they’re essential — porch, pathway, and landscape lighting should all be on and working.
How long before the shoot should lights be turned on? At least 30 minutes. This allows CFL and high-bay fixtures to reach full brightness and gives time to identify and replace any failed bulbs.
Final Thoughts
Lighting preparation is the cheapest investment you can make in a Matterport tour. No staging budget, no equipment, no expertise required — just a walk through the property flipping switches and swapping a few bulbs.
Our Matterport 3D Tour Photographers will always optimise what they find on arrival, but the best results come from properties that arrive ready: every fixture working, every bulb matched, every light on.Planning a scan? Contact Invision Studio to book your Matterport 3D tour, and ask for our full pre-shoot preparation checklist.