Home buying is a big decision. Today’s homebuyers are better informed and more aware than ever.
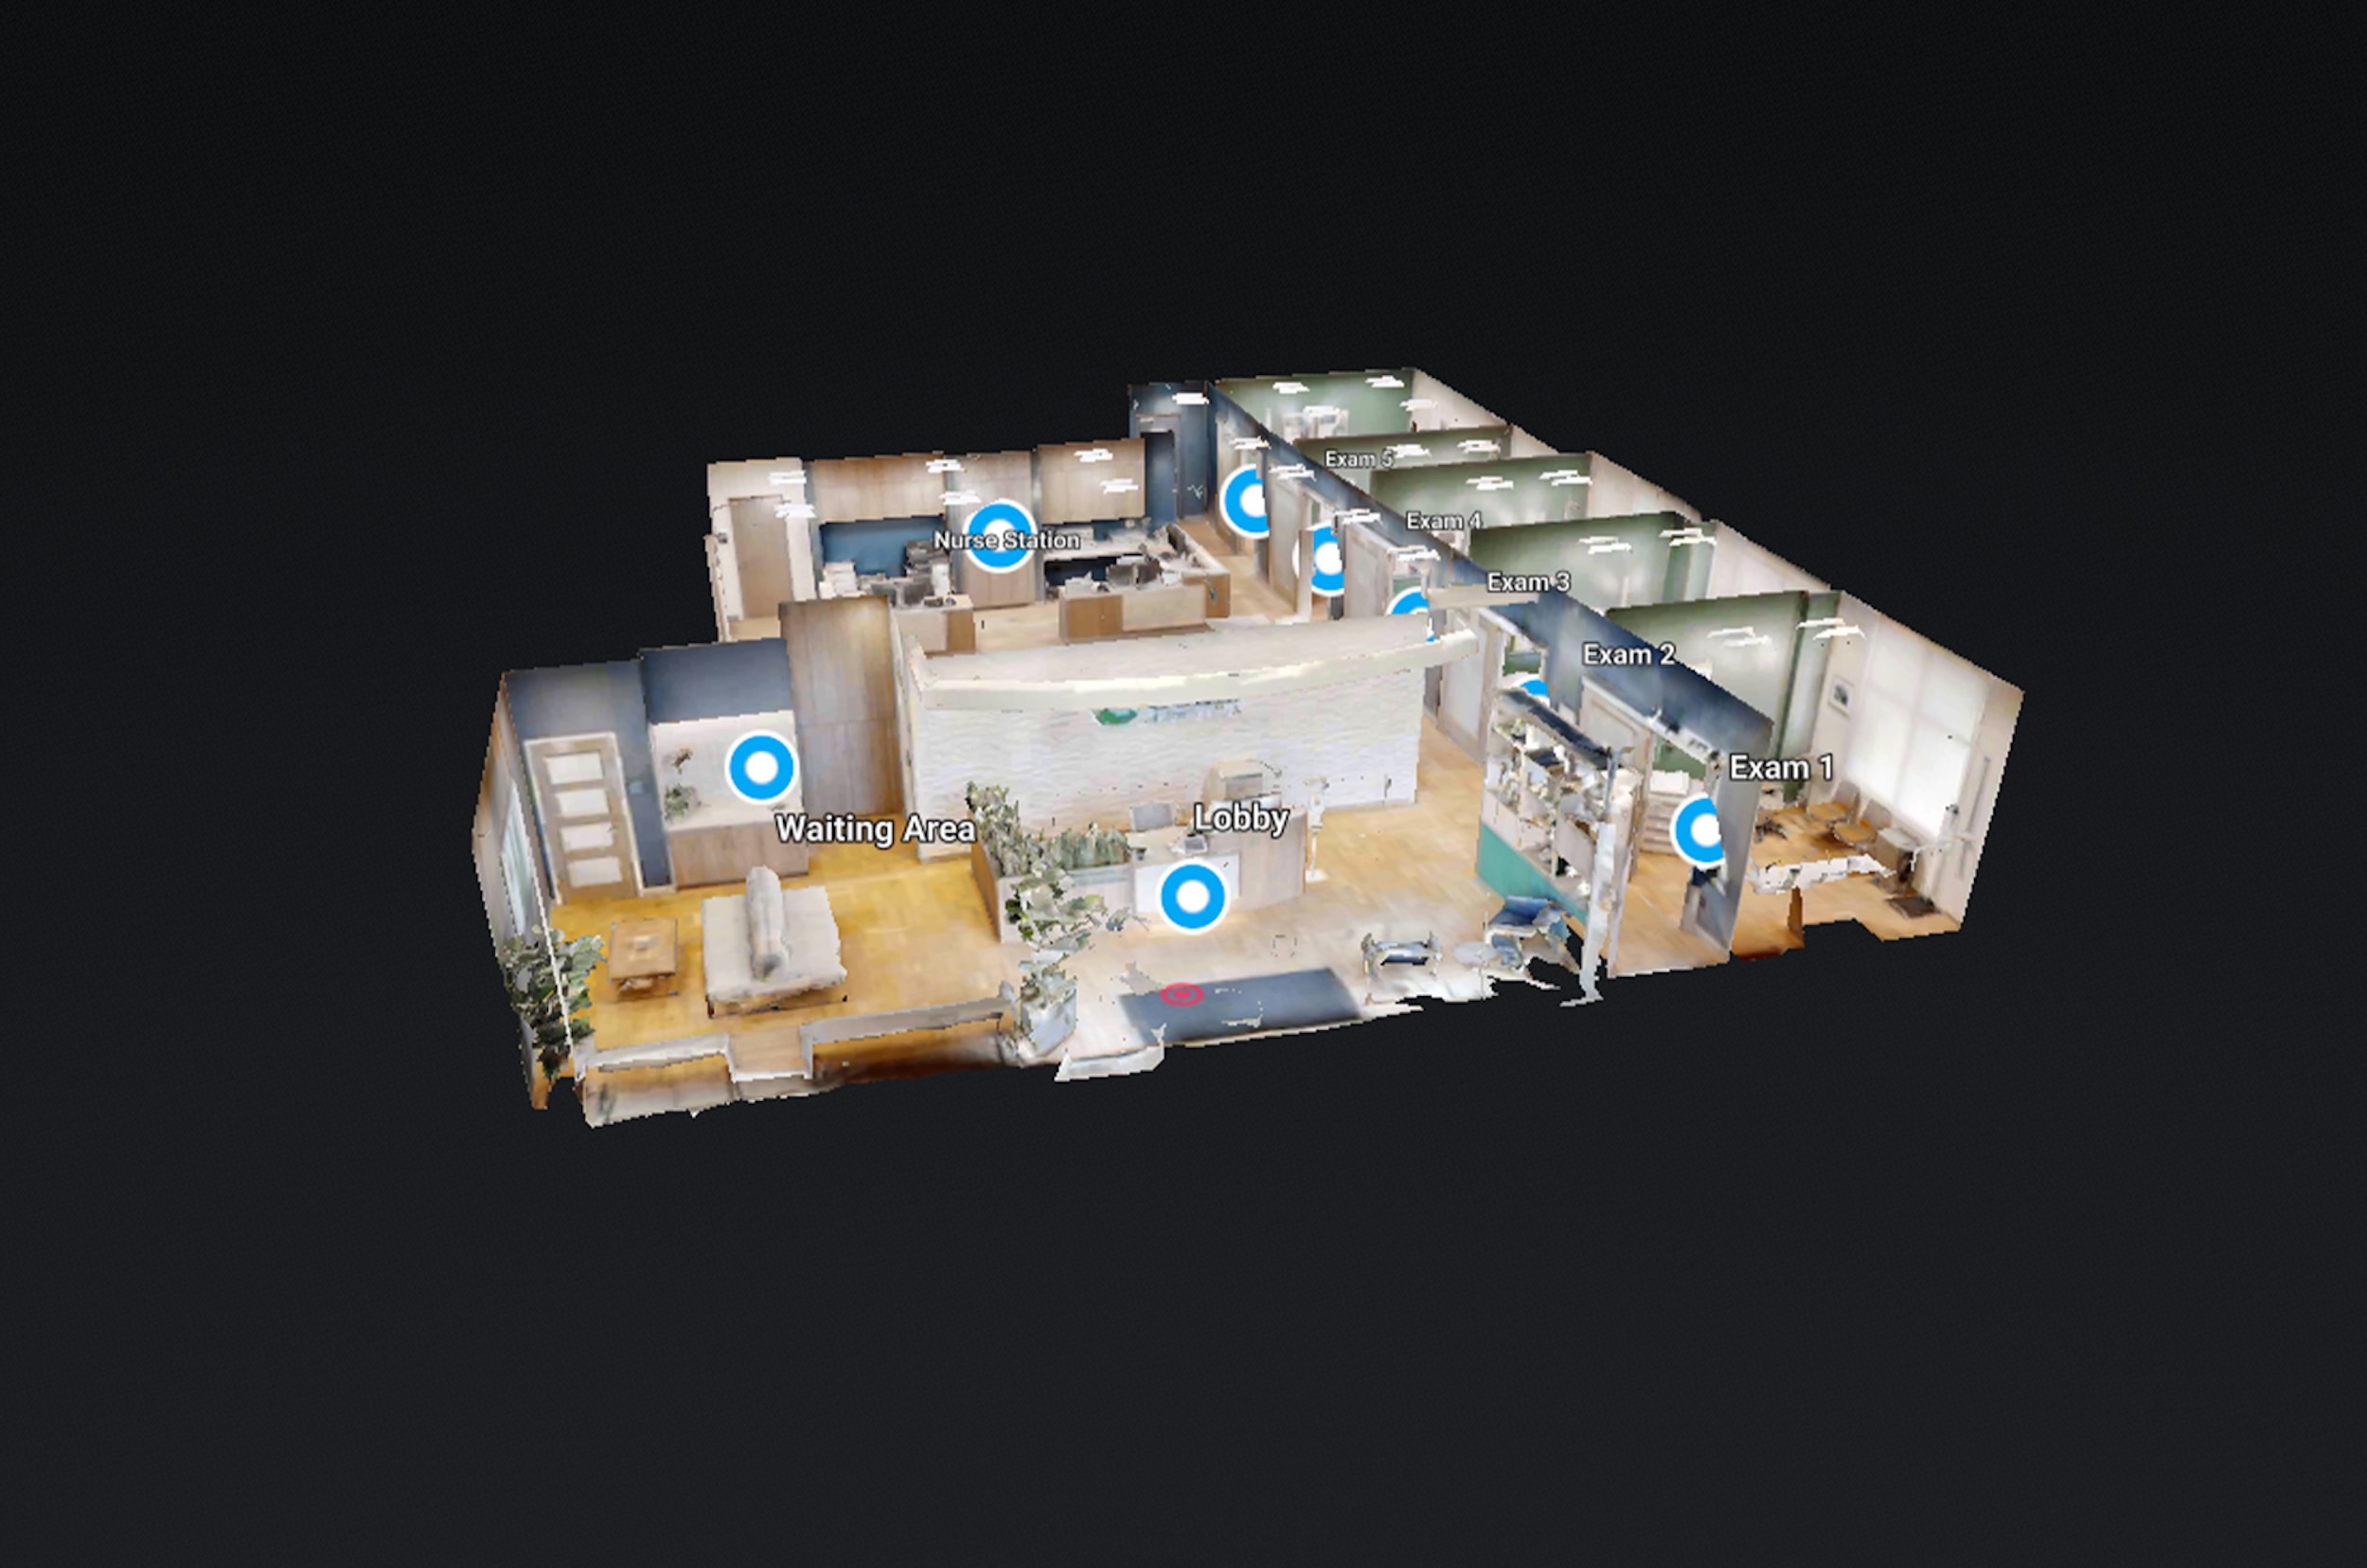
Virtual tours are quickly becoming an elegant and powerful way to differentiate yourself from your competitors in this highly competitive market for listings and properties.
What are the Benefits of Virtual Tours
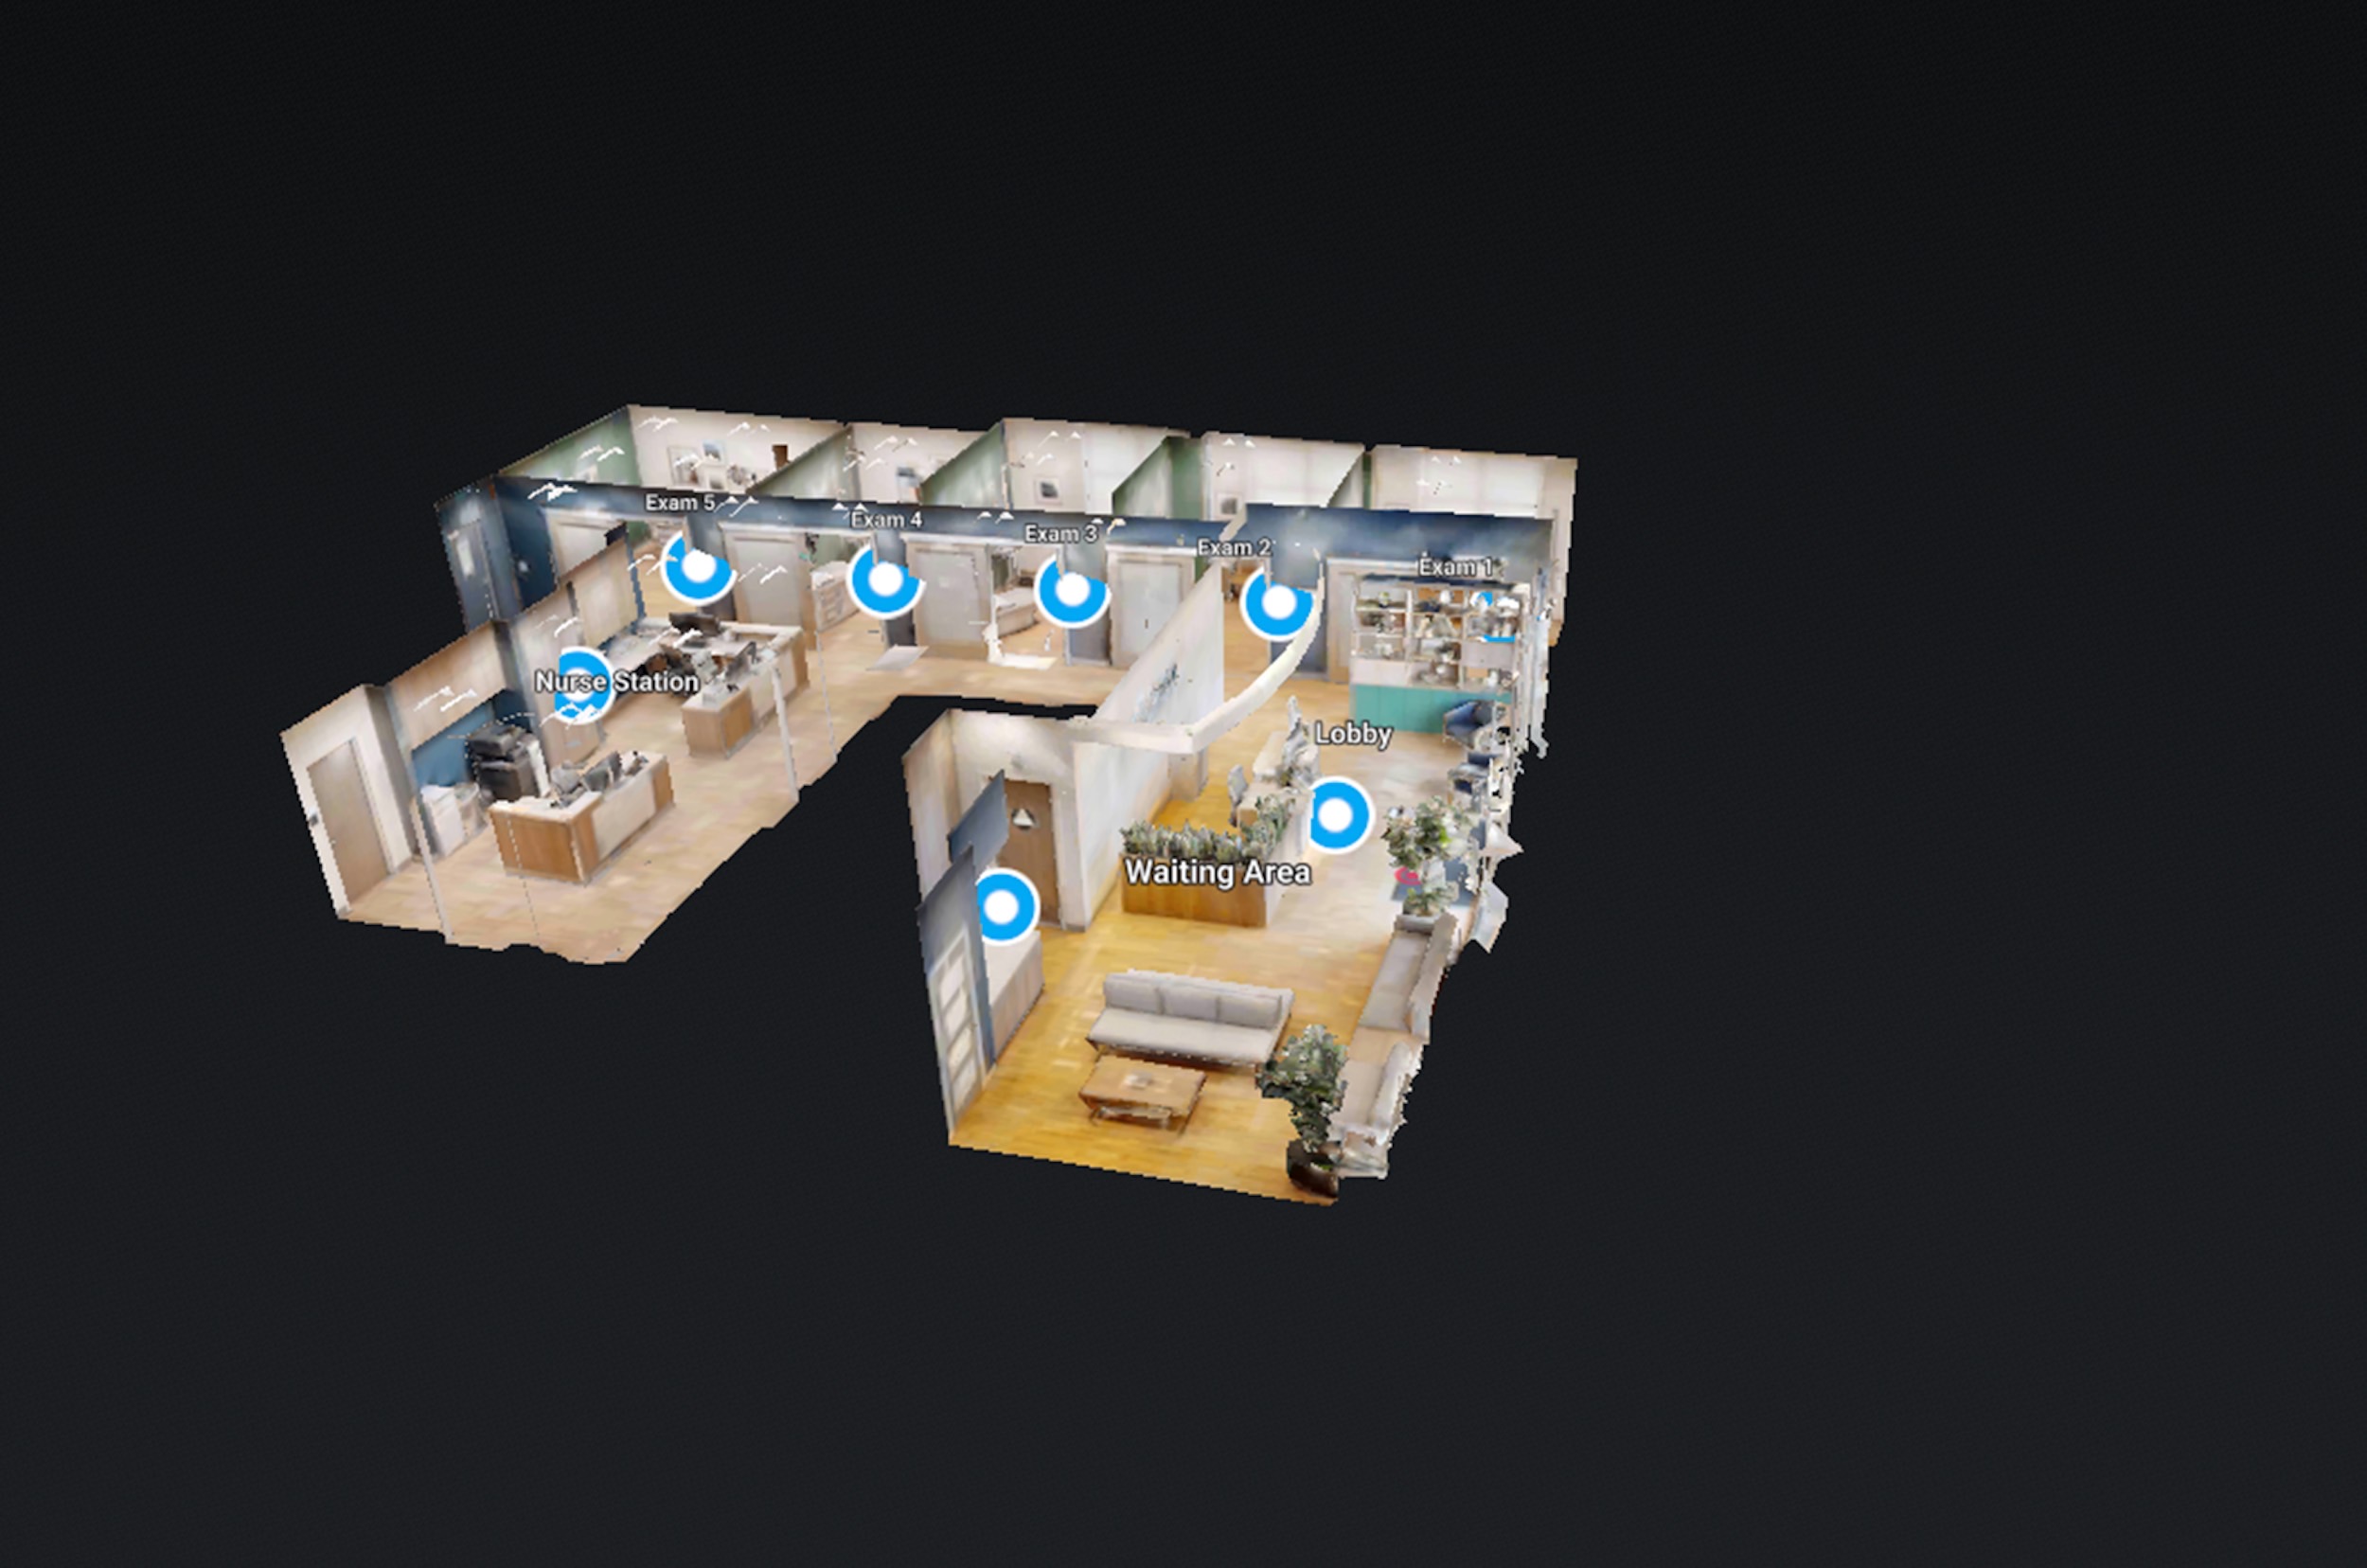
Homebuyers get a unique experience with virtual tours and panoramic photos. They will be allowed to explore every corner of the house by you dropping them off.
They are being allowed to see themselves in you.
This is something still photos and bullet lists of details can’t match.
Virtual tours are a great way for homebuyers to interact and click around the image. They can zoom in and out and look at details close up. This transparency is important for a large decision like buying a house.
Additional benefits
It’s fast and easy to create
This saves you the time of revealing properties in person to low-intent customers, so you can spend more time pursuing high-intent buyers
There is no time limit for customers; they can tour the property for as long as they like.
Are you ready to take your real estate marketing to the next level? Here are some tips on how to take 360 degree panoramic photos for your virtual tour. Check out our tips for photographing your property!
360deg Panoramic Photo
Panoramic photos simply consist of multiple shots that have been “stitched together” into one continuous shot. Virtual tours are composed of panoramic 360deg photos.
Cameras: Panoramic, DSLR or Panoramic?
There are special cameras that can take epic panoramic photos. We recommend using a DSLR to create the panorama and using photo-stitching software. Panoramic cameras can cost up to $10k. If you don’t plan on taking the Aurora Borealis, a DSLR or a nicer point and shoot will suffice.
Take 360deg Panorama Photos With a DSLR Camera
Choose your space carefully
Choose the corner in the room that offers the best view of the space. This is where you’ll place the camera and take photographs of everything.
Keep Your Camera Steady
Use a tripod to keep your camera steady during the shot. It is important to keep your shot as consistent as possible, as you will be creating one continuous image.
Get the shot
To ensure that your photos are straight, level your camera (usually located in the Menu section or as a separate button).
Use full manual mode, including manual exposure, focus, and white balance. Vertical photography is recommended. You can crop and modify the top and bottom later.
Take a picture!
You should take 8-10 photos of the space, either from left to right or right to left, until you cover the entire room.
All Things Together
Use one of the panorama photo stitching software packages below to stitch your photos together.